Cooking steak should be easy, right? Well, what if I told you there was a way that it could be even easier? If you have been following me for a while, then you might have heard “Reverse Searing” come up at some point. At first, this sounds like a fancy way of cooking steak for a high-end restaurant, not your backyard. Luckily for you, this is a high-end way to cook a perfect steak that is easy to do right at home!
So what is Reverse Searing?
Reverse searing is a style of cooking. First, you grill the meat indirectly at a lower temperature (in the oven or smoker) until you hit your desired internal temperature. Then you let it rest for 10 minutes before you quickly sear the outside of the meat over the flames to get those famous grill marks!
You can do this at home easily! Just check out my step-by-step instructions below!
Why you’ll love the reverse sear method
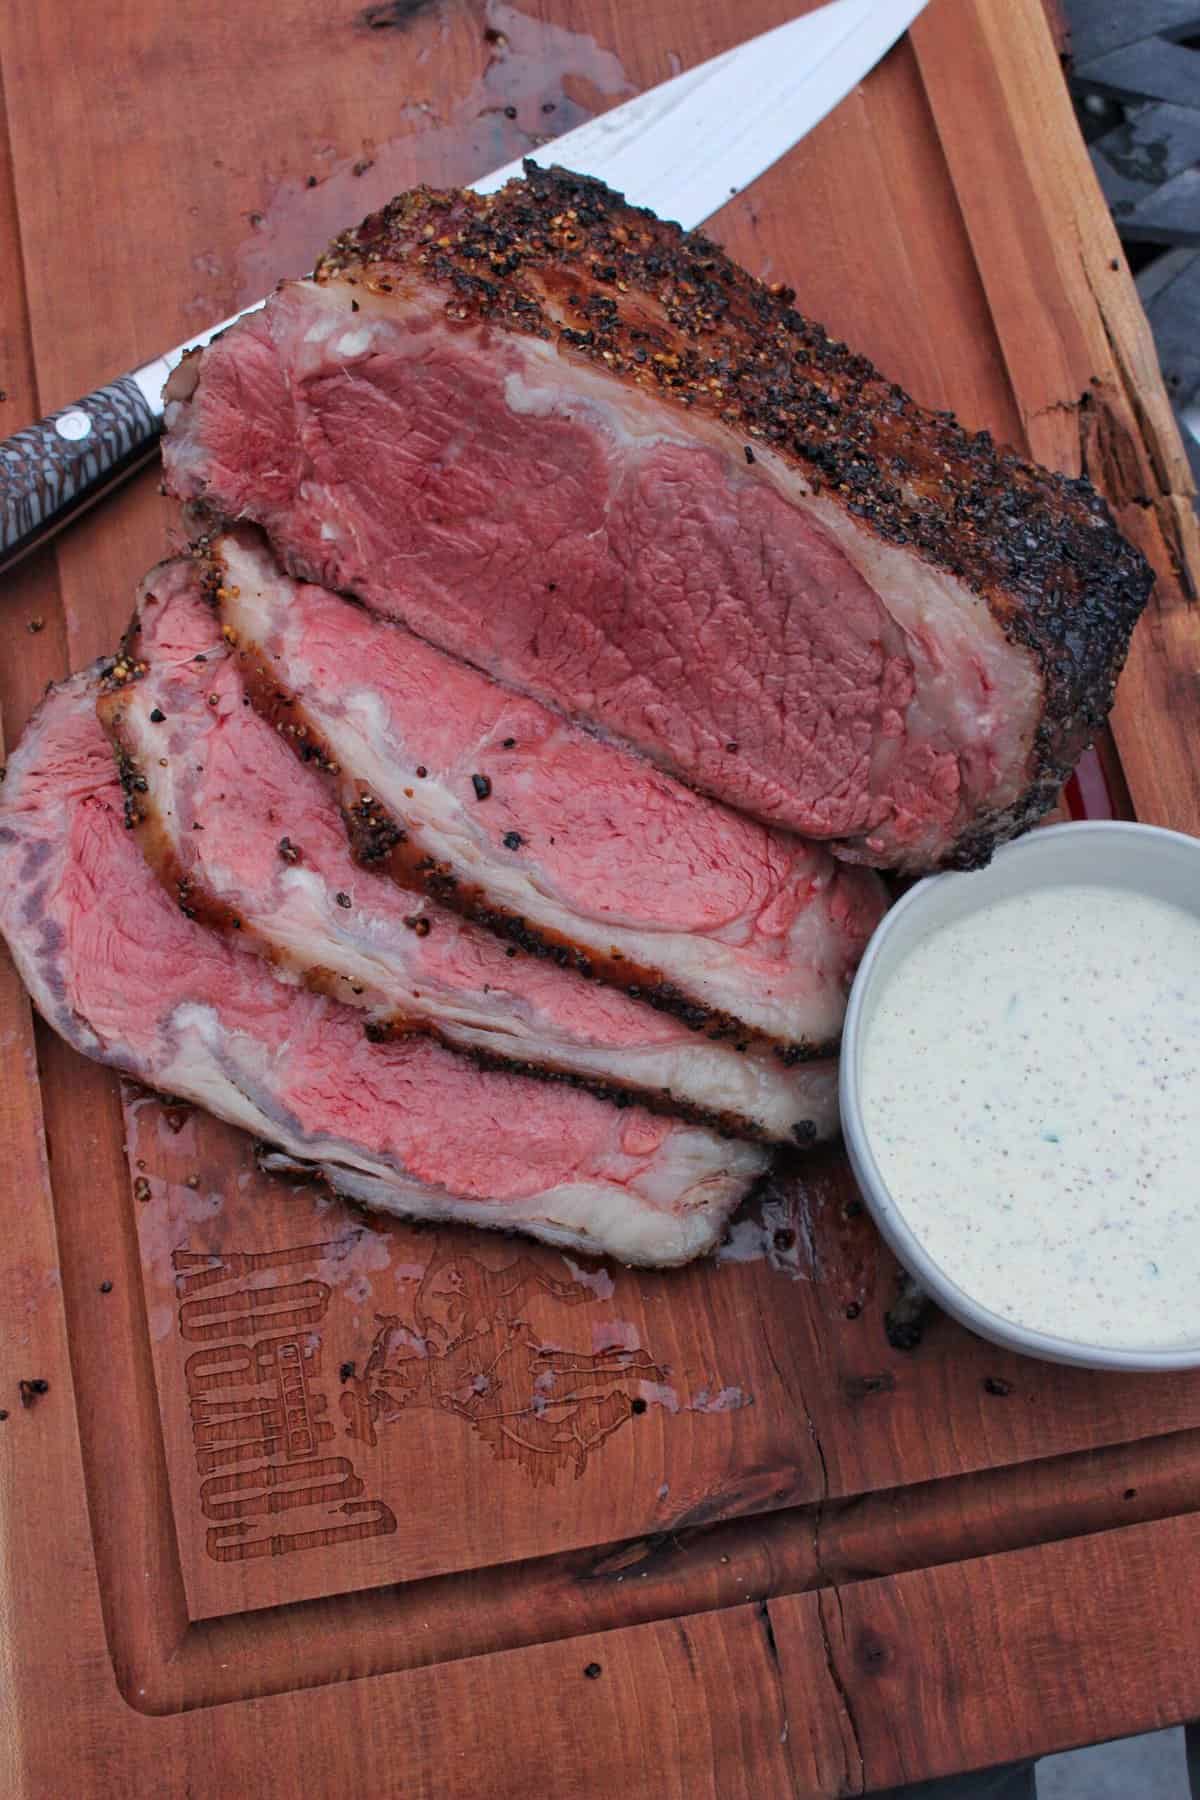
This reverse sear method is a great way to control the level of doneness of the meat, no matter the thickness of your steak. This is because the inside of the steak is being cooked at a lower temperature without overcooking the outside. The final sear allows the outside to get a good crust without overcooking the inside. This is because the final sear happens very quickly..
This cooking method also dries out the exterior of the steak, making the process of achieving a nice crust even easier!
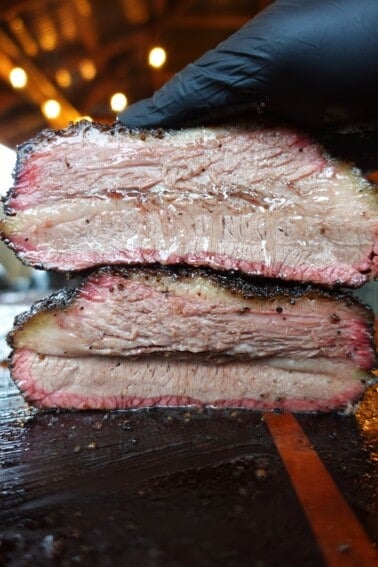
Lastly, reverse searing allows more consistent pinkness or redness throughout the steak instead of some parts being undercooked or overcooked.
What You Need to Reverse Sear a Steak
- Steak – Not sure what type of steak to use for this cooking method? Check out the best steaks for reverse searing.
- Grill or Smoker
- Aluminum foil – For wrapping the steak and allowing the juices to settle.
- Paper towel – You want your steak to be as dry as possible before searing to get that nice crispy crust.
- Seasoning – Adding some salt and pepper to the steak can help add a touch of flavor. But if that’s too boring for you, try my unique spices and rubs.
How to Reverse Sear a Steak
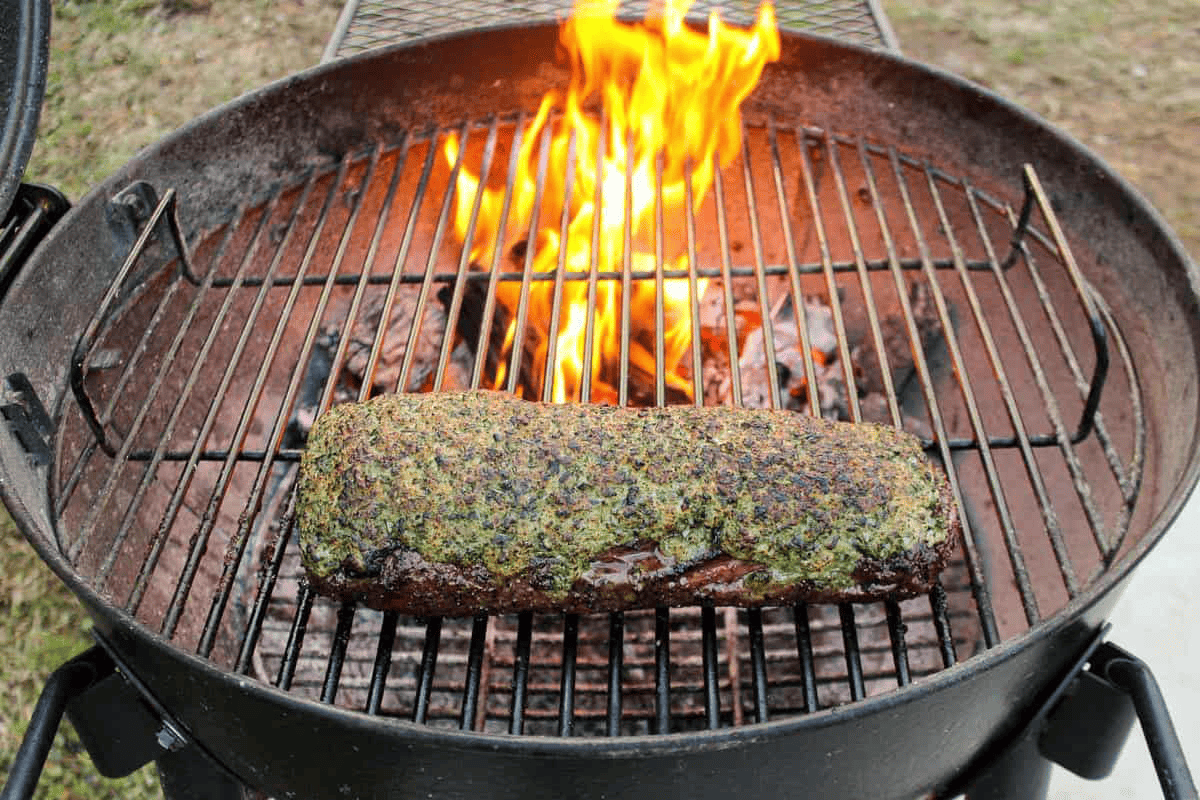
First: Prep your grill/smoker
Prep your grill or smoker with a two-zone fire for a temperature of 225F.
The ideal temperature for reverse searing is 225F. The low heat allows the meat time to cook slowly without directly searing the outside!
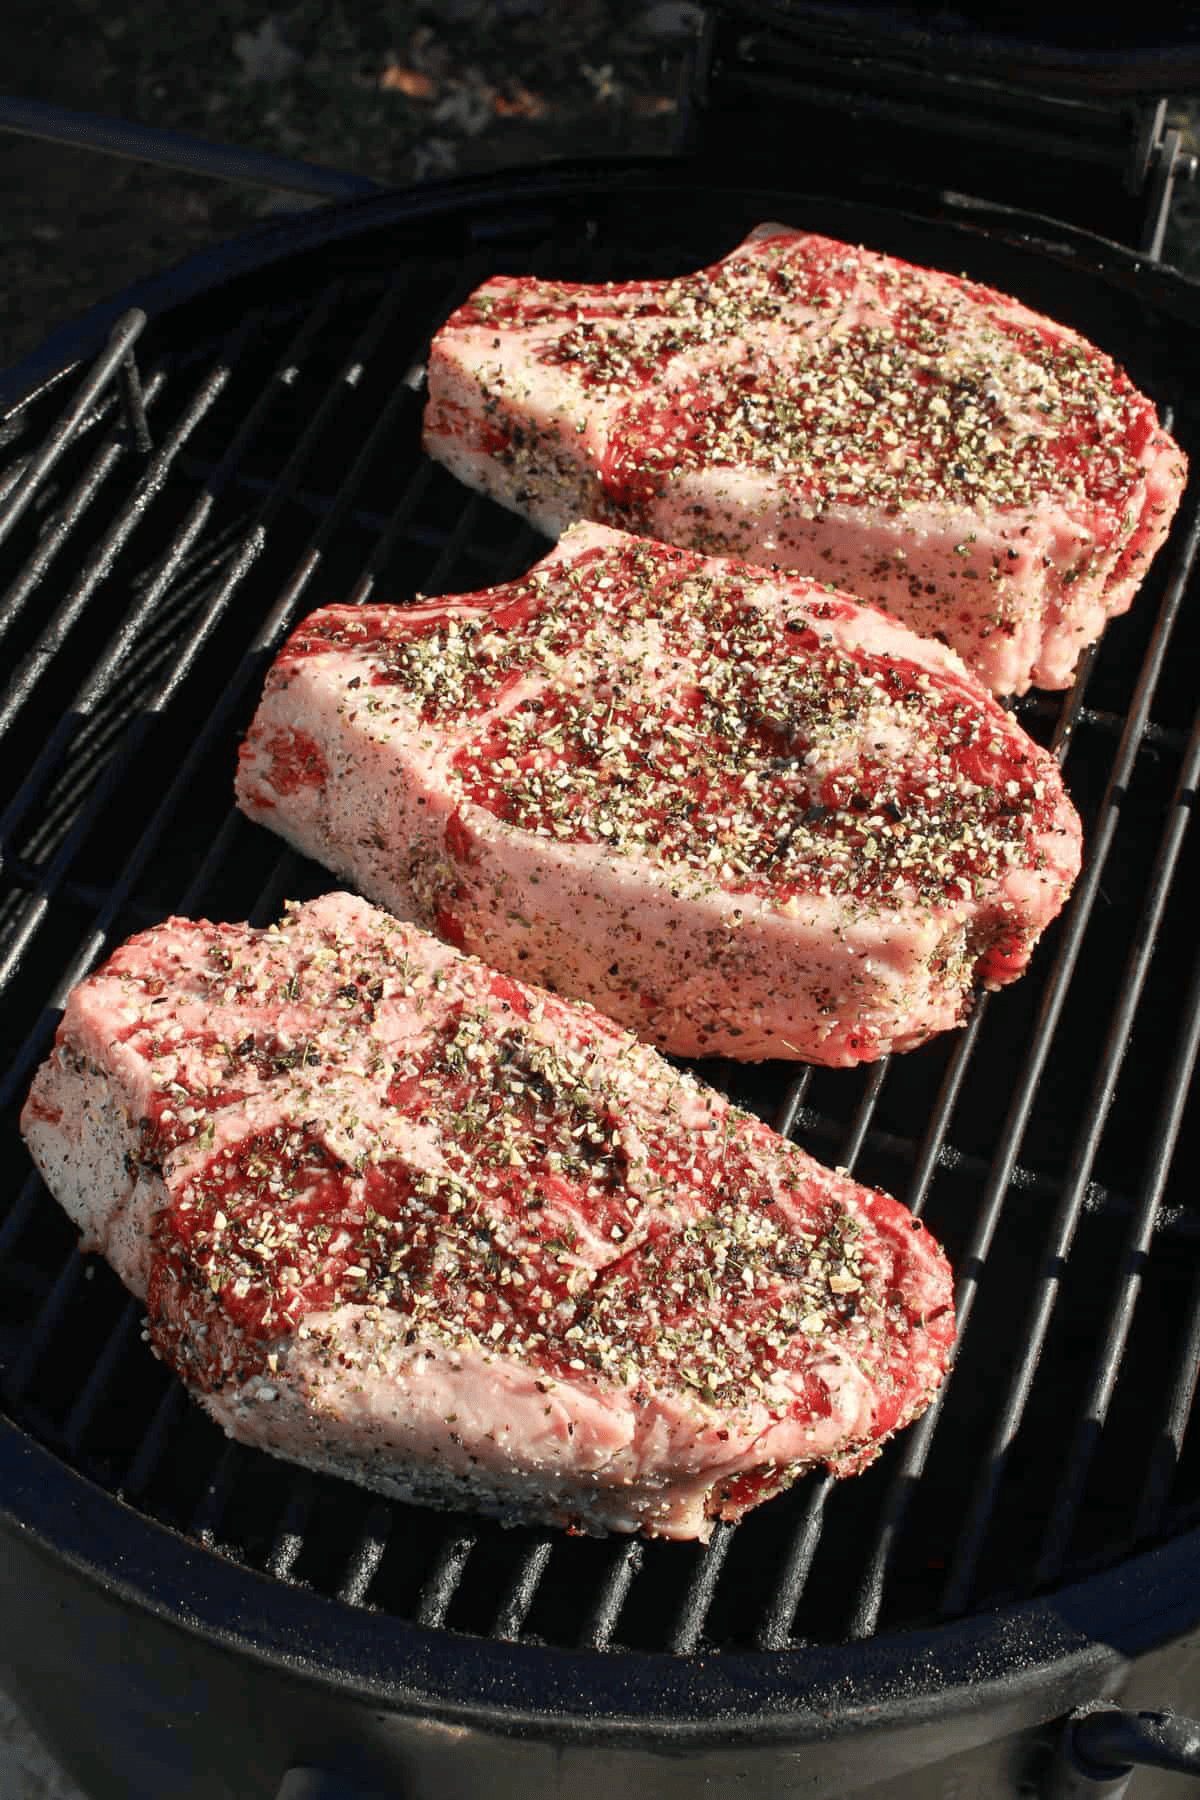
Cook the steaks
Once your charcoal has gotten to 225F, it is time to cook. The internal temperature is the key to this cooking process. I always shoot for an internal temperature of 120F for beef. We all know that steak continues to cook after you pull it off the grill, so once you get within a degree or two of your desired internal temperature you can pull it from the heat!
Pro Tip
The best way to check the internal temperature of the steak is using a meat thermometer or digital thermometer! So make sure to have one handy. If you’re cooking a large piece of meat make sure to probe multiple areas to get the best “general” idea of its current internal temp.
Rest
Pull the steaks off the grill and let them cool for 10 minutes. When reversing searing, you will let the steak settle before searing the outside. This allows the juices inside the meat to reabsorb before heating it up again.
Pro Tip #2
Wrap the steak in aluminum foil and place it inside a cooler for 20 mins to settle. This lets the steak cool slower, so you lose less juice than when cooling at room temperature.
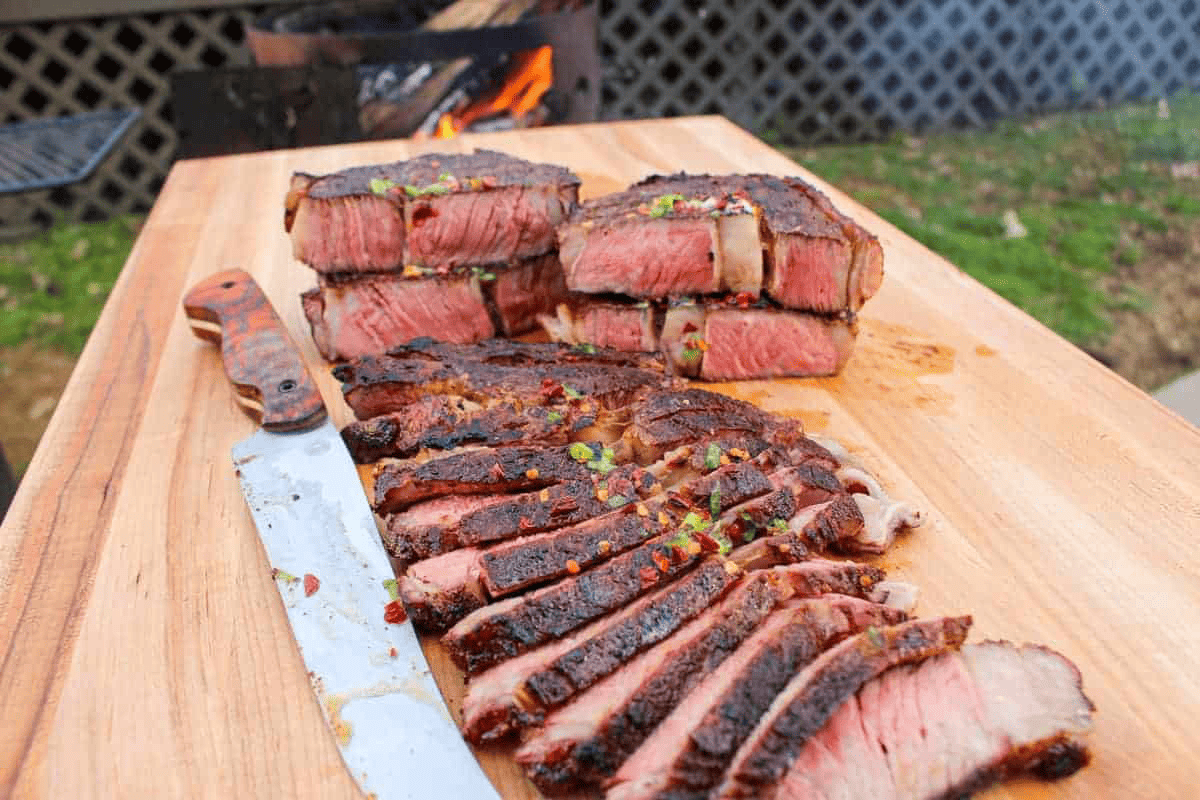
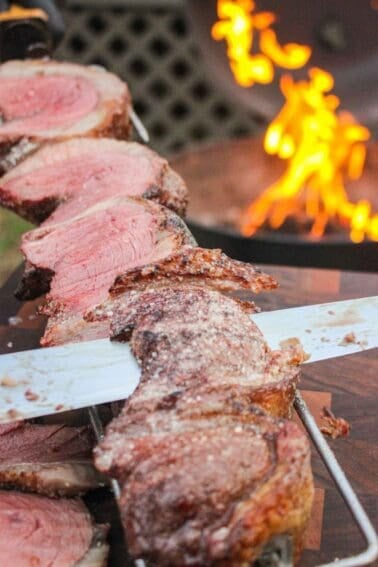
Sear
Now, preheat your grill to a high temperature for direct heat. Get that hot grill going to get a perfect sear on all sides of the steak.
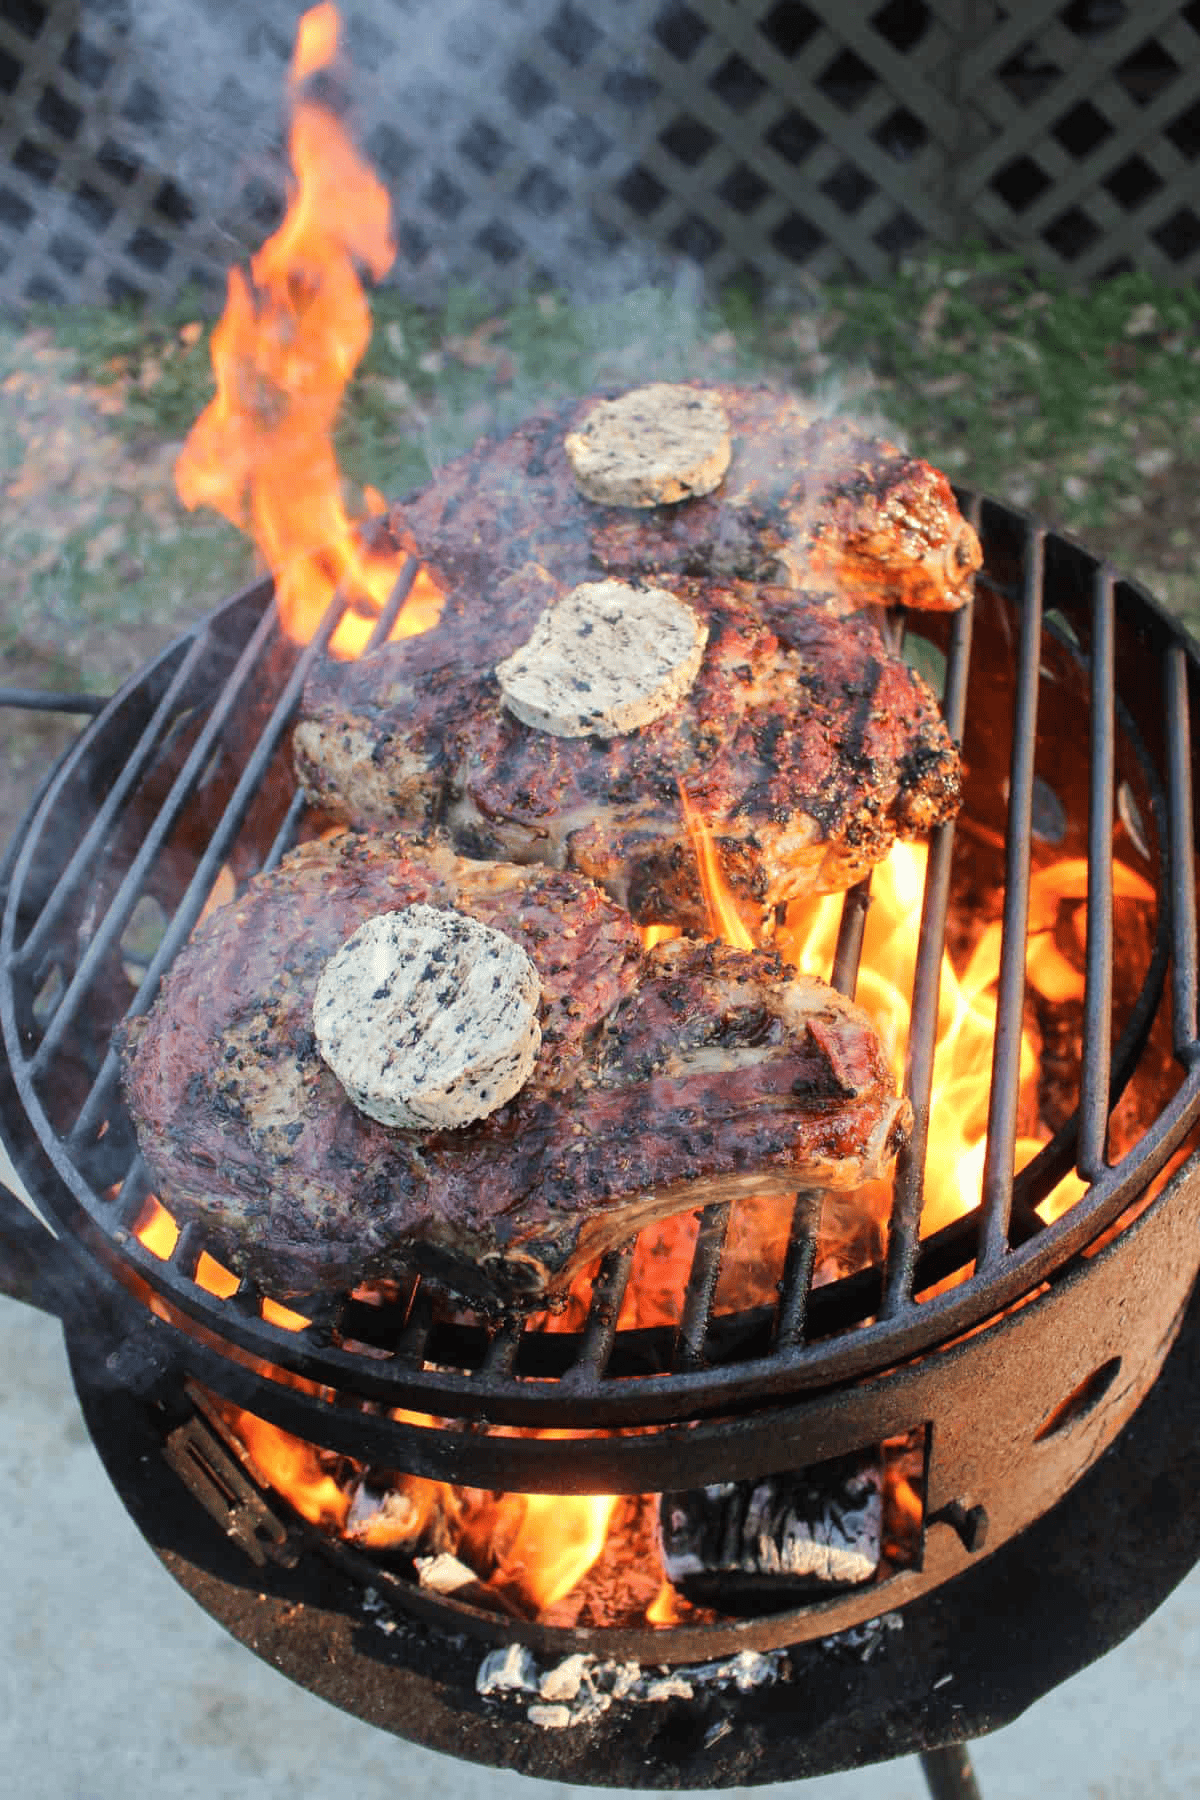
Sear each side of the steak for 1 to 2 minutea. Sear the steak quickly so you get those ideal grill marks. Do 30 secs, then a 90-degree turn for hatched grill marks.
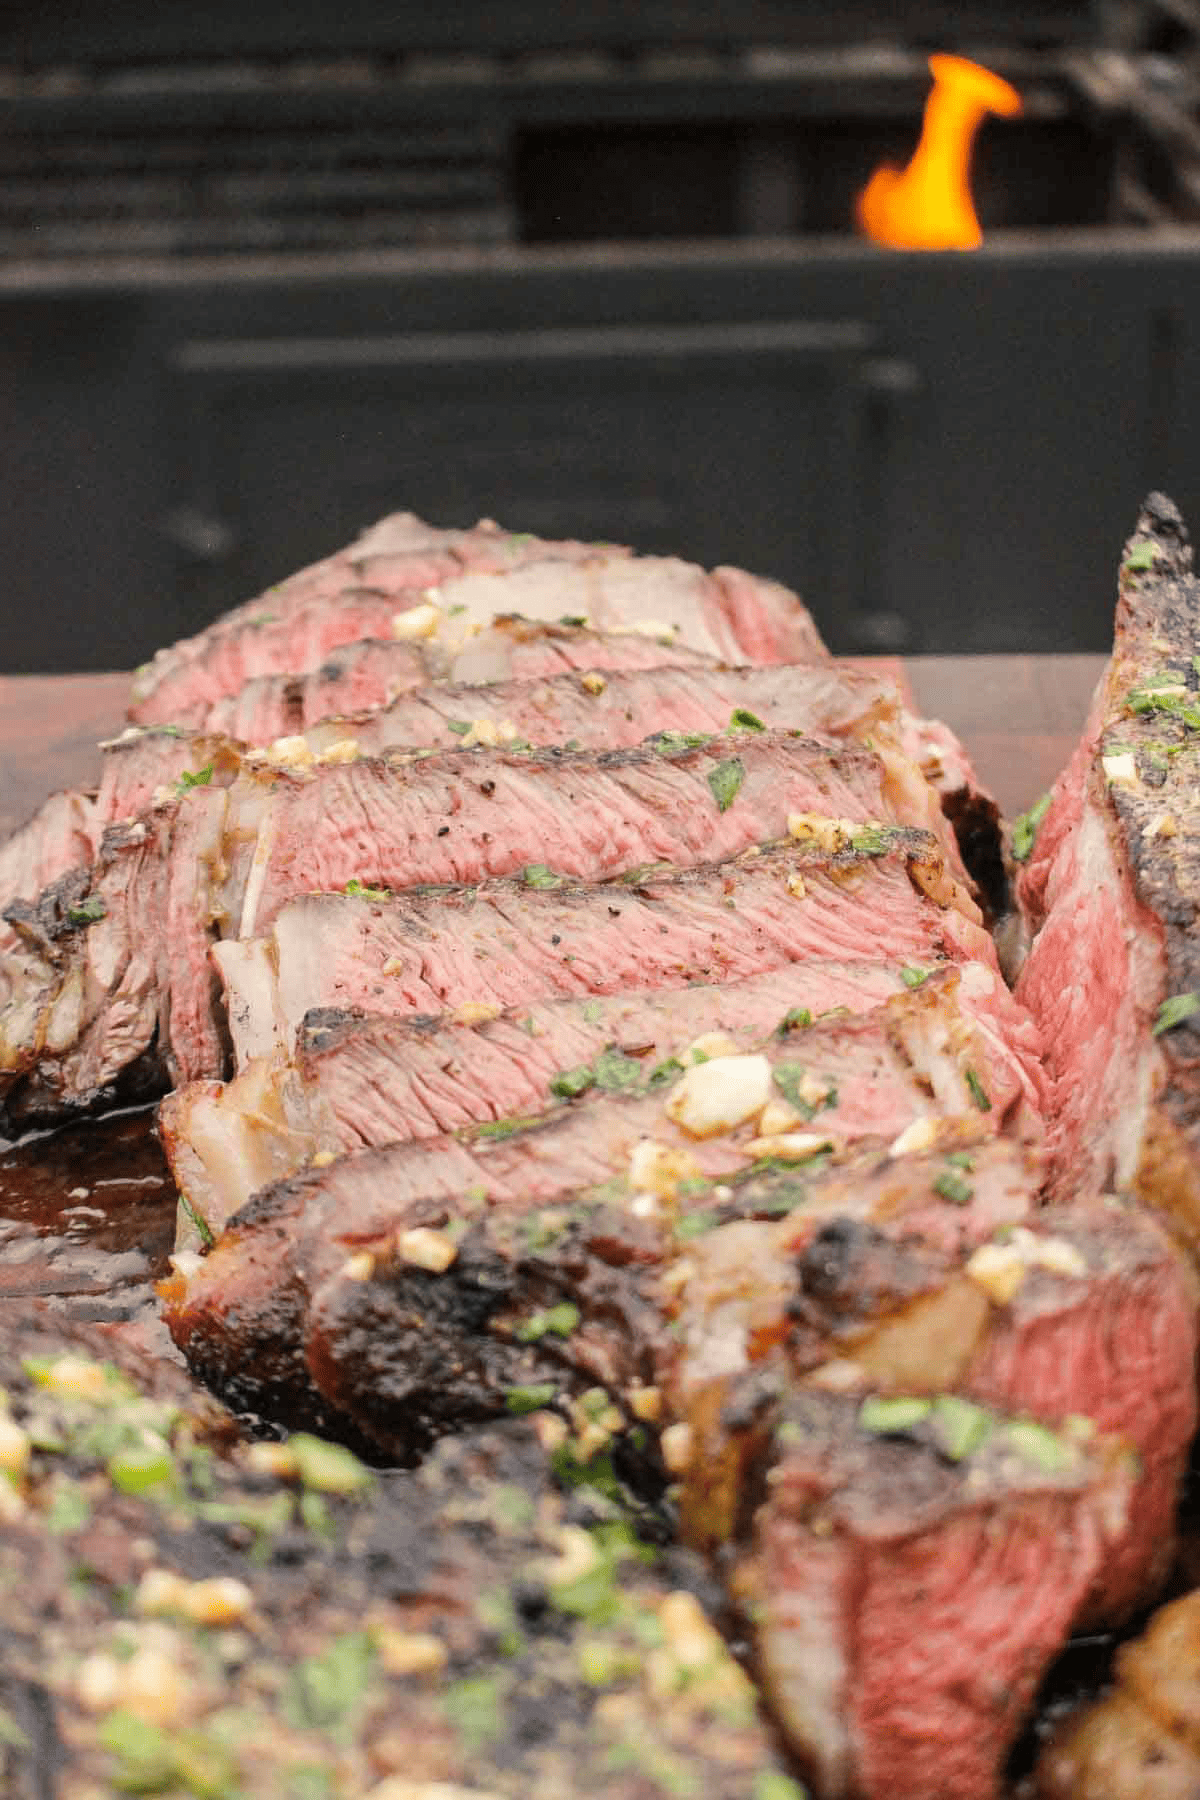
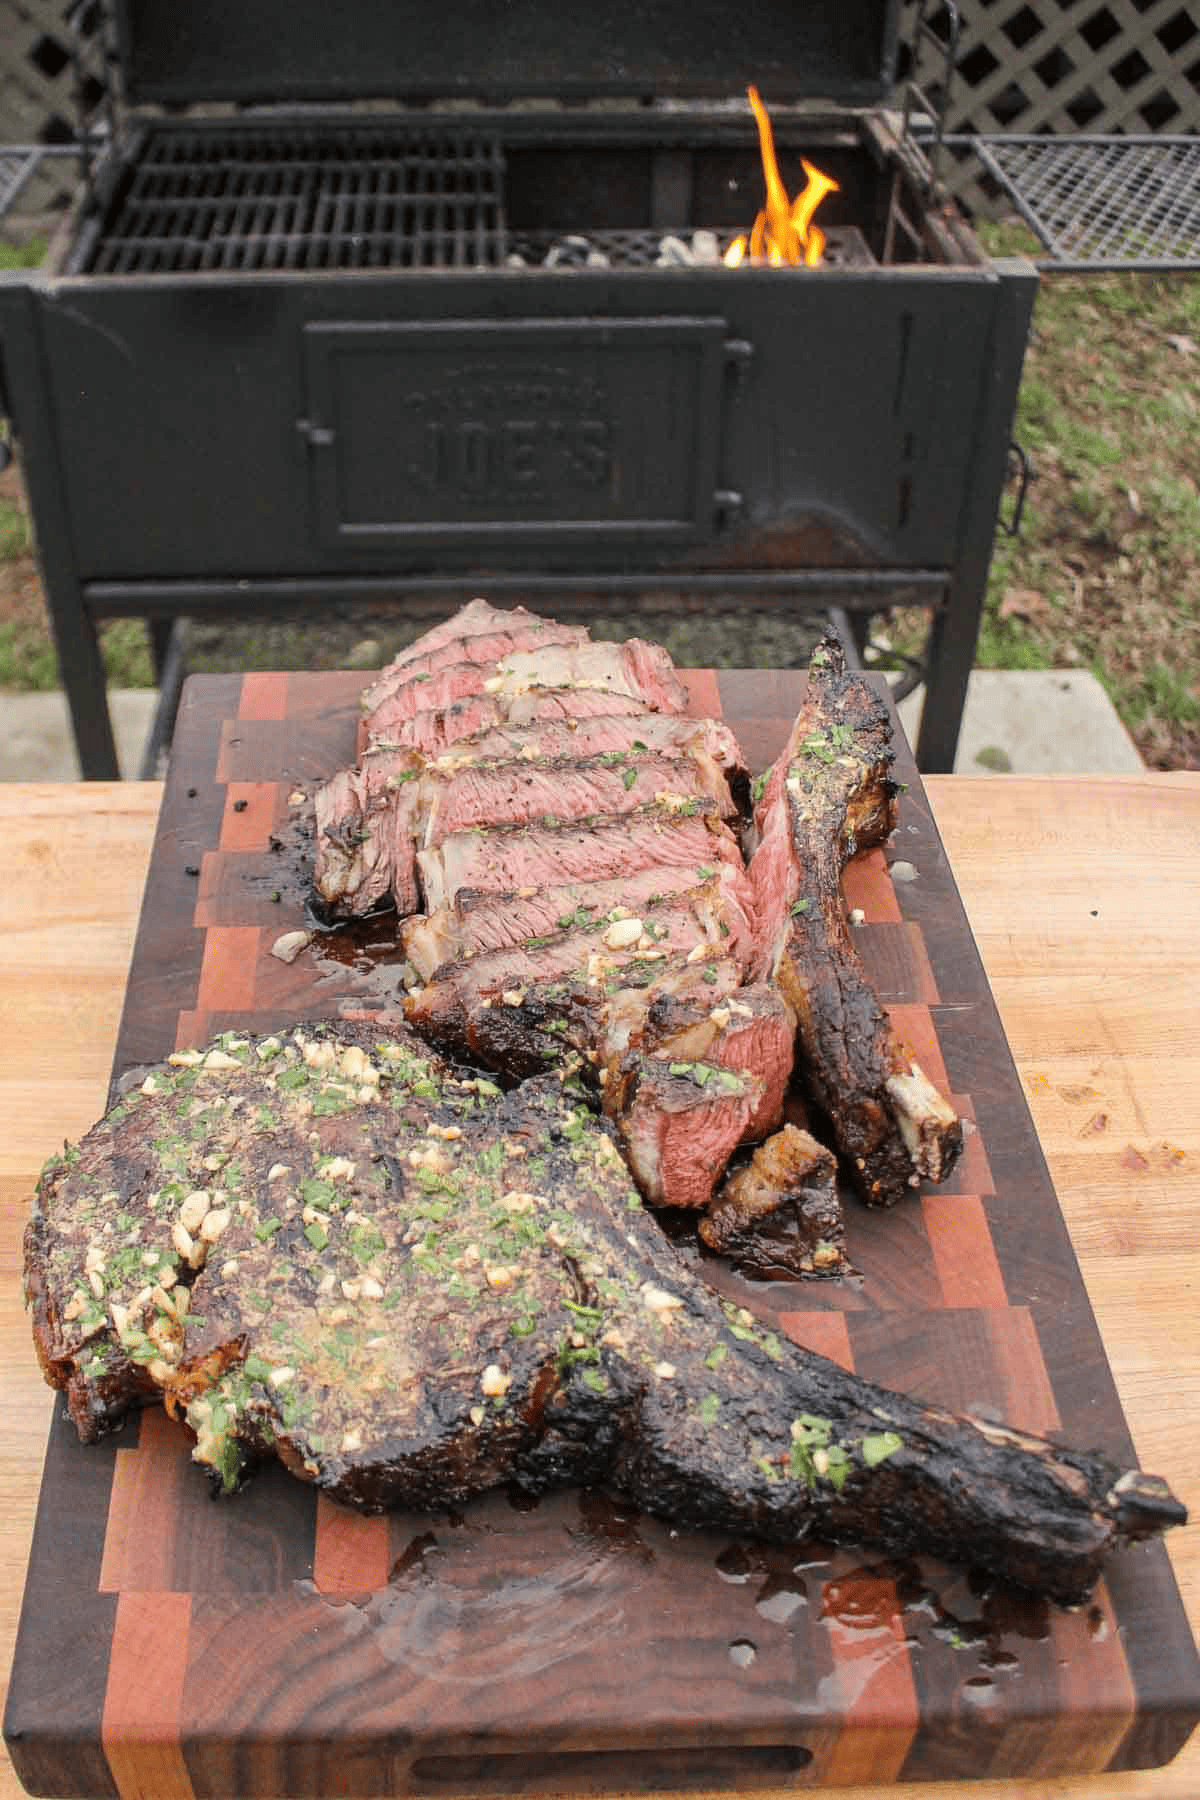
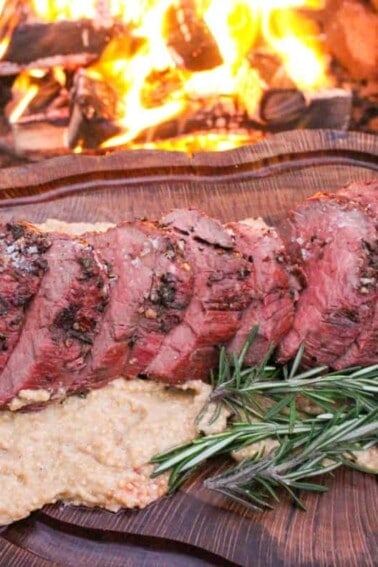
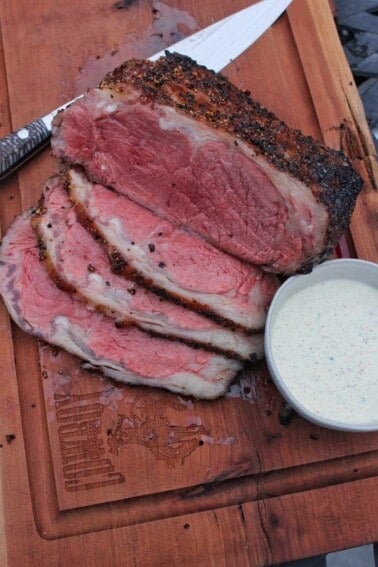
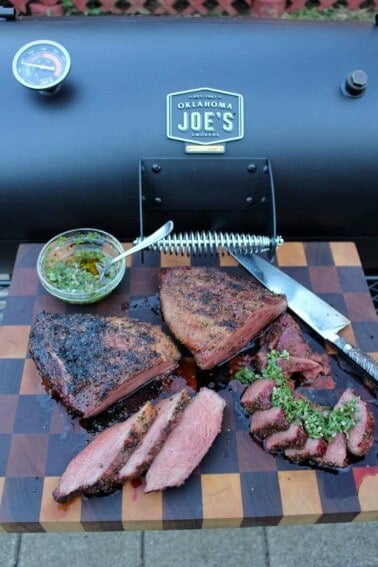
SLICE THAT STEAK UP AND ENJOY!
Enjoy reverse searing with any cut of steak, from a New York strip roast to these reverse-seared ribeyes. Just follow the same instructions, and you will have a beautifully cooked piece of meat for the whole family!
For more on reverse seared ribeyes, check out my Reverse Seared Ribeyes with Black Garlic Butter, Grilled Ribeye with Cowboy Butter, Coffee Crusted Ribeyes with Honey Chili Butter and Nashville Hot Steak Frites.
For more ideas on what to reverse sear, check out my article on the Best Steaks for Reverse Searing here!
Recipe Tips
- Depending on the thickness of the steak, you may have to adjust the cooking time for best results.
- Using thicker cuts of steak works better for the reverse sear method as they take longer to cook and won’t overcook as easily.
How to Store and Reheat Leftover Steak
Store any leftover steak in an airtight container in the fridge for 3-4 days. Alternatively, you can freeze steak in an airtight container for up to 6 months.
To reheat a reverse-seared steak, you have a couple of options:
- If you don’t have a ton of time, the quickest and most convenient method of reheating steak is in the microwave. However, I don’t recommend this as you can easily overcook your steak, ruining all the hard work you put in.
- My personal favorite method for reheating steak is to slowly reheat it in the oven or smoker at a low temperature. We want to keep those juices and crispy crust we worked so hard to achieve.
If you take my advice and reheat your steak in the oven or smoker, here’s what you need to do:
- Preheat your oven or smoker to 250F.
- For the oven method, place your steak on a foil-lined baking sheet and bake for 20 minutes until it reaches your desired internal temperature.
- For the smoker method, place your steak on the hot grill to warm with indirect heat and smoke for around 20 minutes or until the steak reaches your desired doneness.
Voila! Now you can enjoy a nice thick steak all over again and still maintain that perfect sear and doneness!
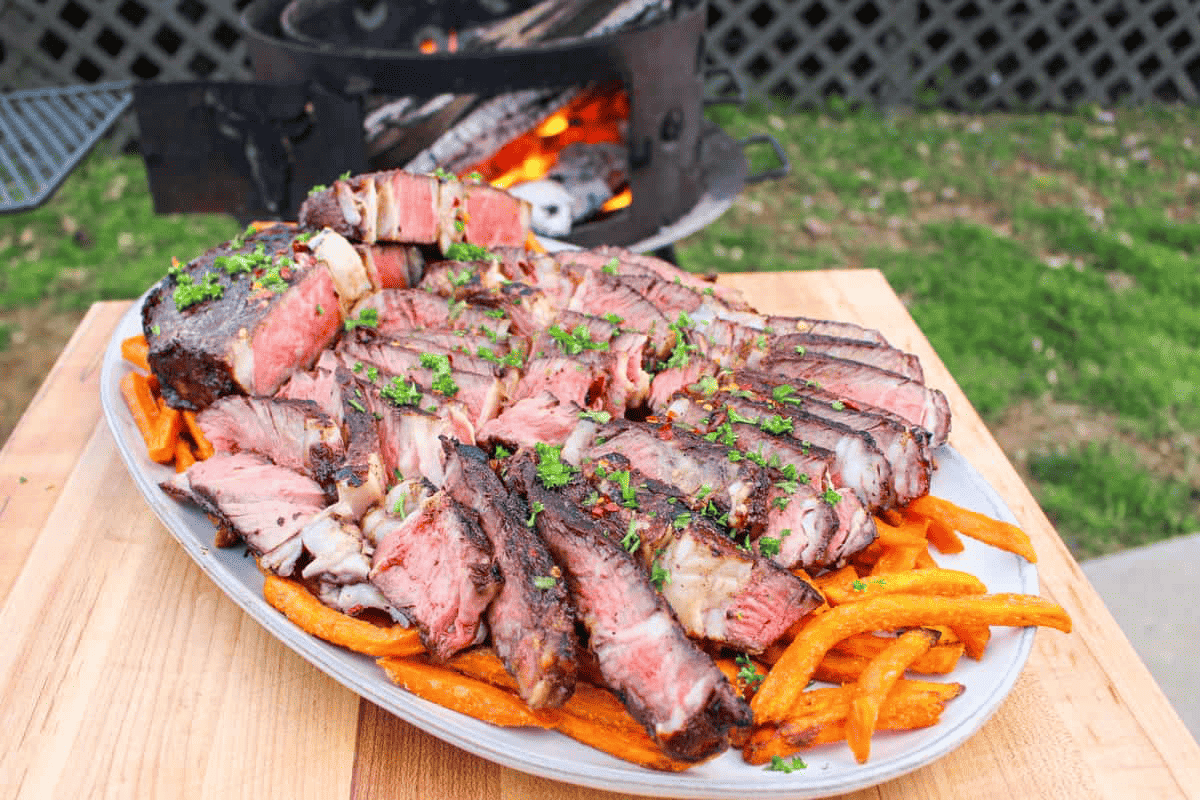
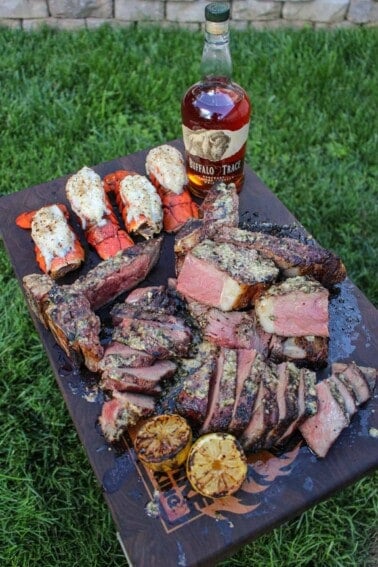
Then, you can eat the steak by itself or use those juicy leftovers to make some freakin’ delicious loaded steak fries, steak frites sandwich, or steak and cheese sliders!
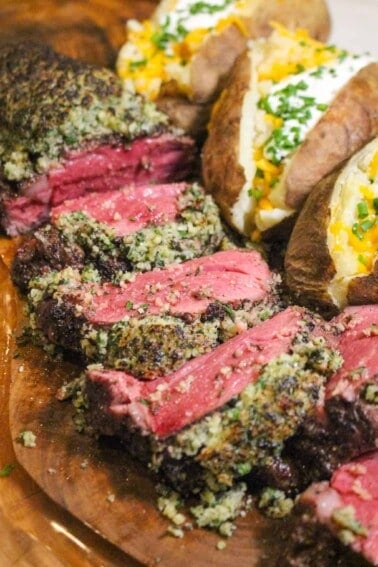
What to Serve with a Reverse Seared Steak
A reverse-seared steak pairs perfectly with the classic baked or mashed potatoes, fluffy rolls, or on top of a vibrant salad!
FAQs
Reverse searing a steak provides better control over the final temperature. For example, simply pan-searing a steak can leave you with a slightly undercooked or overcooked steak if the temperature of the skillet isn’t correct.
That’s where this reverse sear method comes in handy. Reverse searing cooks the steak at a low temperature, allowing the steak to cook slowly instead of too slow or too fast. It gives you more control. It also ensures the inside of the steak gets the perfect level of doneness without scorching the outside layer of the protein.
The last step of reverse searing is where you crank up the heat for a quick sear to get that nice golden brown crust on the outside of your steak. The result is perfectly cooked steak at the right temperature with a melt-in-your-mouth crust.
You can use a charcoal grill or a gas grill for this reverse sear steak method!
Here’s a handy table to show you the best temperatures for your perfect steak:
Rare = 120F
Medium Rare = 130F
Medium = 140F
Well Done = 150F
Absolutely! If you don’t care about the grill marks, using a cast iron pan or skillet will still give you that nice juicy steak without setting your steak directly on the grill.
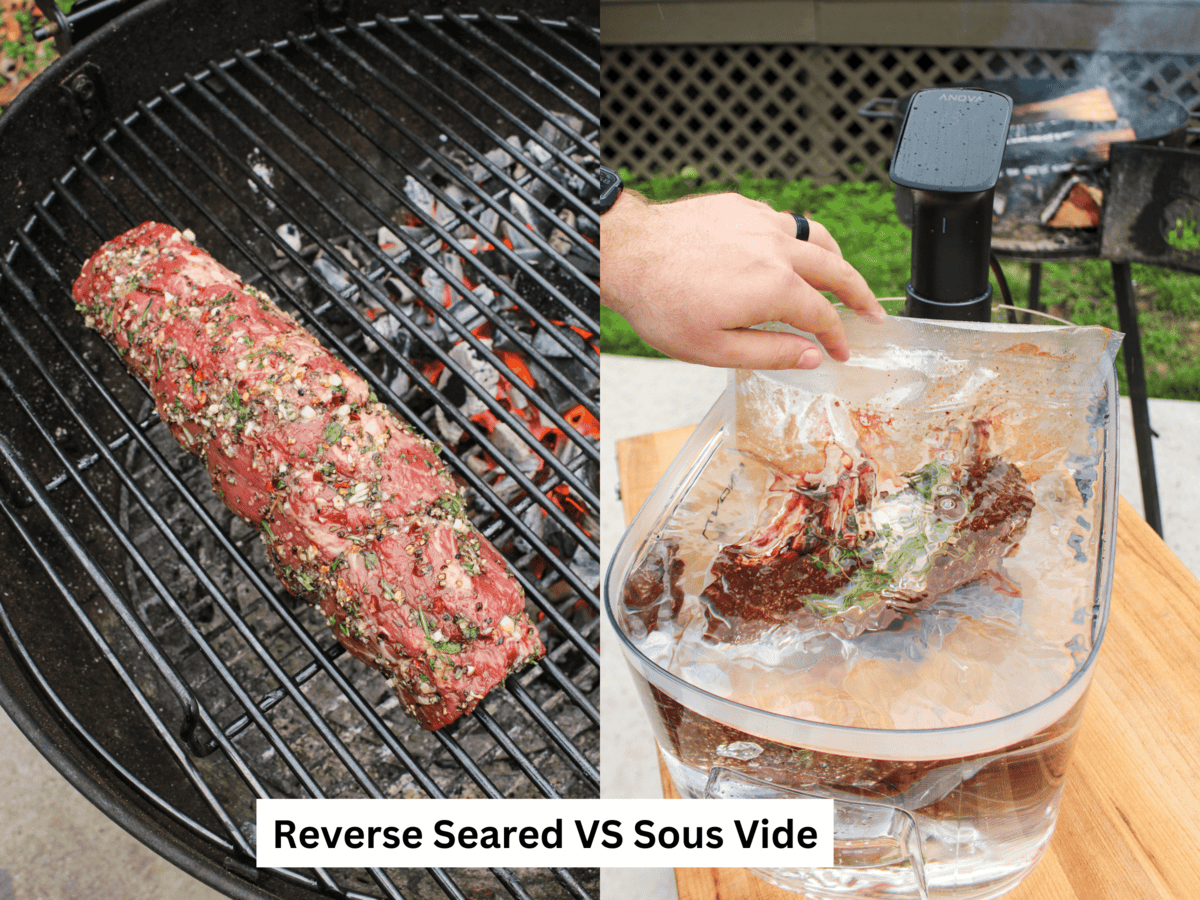
How is reverse searing different from the sous vide method?
Reverse searing and sous vide provide a more consistent outcome in terms of doneness and color. However, the sous vide method cooks the steak in a vacuum-sealed bag submerged in a water bath. The water bath is temperature controlled to allow for consistent cooking.
The only issue is that sous vide doesn’t allow you to get a good sear on the steak as reverse searing does. You’ll also be missing out on the smoky, fire-kissed flavor added by cooking with flames.
On the other hand, reverse searing allows you to get that same temperature control while also getting a nice sear on the steak.
More Reverse SEared Recipes


Get The Cookbooks!
Flavor X Fire & FOOD X Fire
All the major tastes—salty, sour, sweet, bitter, and umami—are explored in depth, along with an investigation of other components you should consider when it comes to flavor, such as aroma, heat, and texture.
Needing more spice in your life? My spice line can help with that. Check them out here.

Reverse Seared Steak
Ingredients
- 1 Ribeye steak about 12-16oz
- 1 tbsp sea salt
- 1 tbsp fresh black pepper
- 1 tbsp cinnamon
- Other: A grill that can smoke on low heat i.e. anything with a lid
Instructions
- Light the Cowboy Hardwood Lump Charcoal in a charcoal chimney or mound inside your grill and let burn for 10-15 minutes. (Optional) Add 3-4 small pieces of hickory wood to the top of the charcoal for added flavor!
- Once charcoal is hot, place in grill on one side and leave room so that you can add more charcoal/wood later. Close the lid on your grill and wait for the temperature to reach 225F.
- While waiting, season the steak with salt, pepper, and cinnamon on both sides. When temperature is ready, place steak on opposite side of charcoal.
- Let the steak roast for about 45-50 minutes (or until the internal temperature for steak is 120F). Make sure to add charcoal/wood chunks to maintain a consistent temperature!
- Pull steak off grill and let rest for 10 minutes. While steak is resting, prep your grill to be as hot as possible!
- When fire is ready, place steaks on grill for 1 minute per side. For cross grill marks, do 30 seconds on one side then turn 90 degrees for another 30 seconds. Flip steak and repeat process.
- Slice, serve and enjoy!


I used this method on a thick cut of tri tip. 👍🏽👍🏽 It came out perfect. The only issue I had was maintaining my temp at 225°. It hovered around 220° for the longest until I added another batch of lit lump charcoal. Huge difference and different beast compared to my usual carne asada. Thanks for sharing your methods. Much appreciated.
Makes any steak great!
Actually you can get a reverse sear with sous vide. What you do is cook it in the vacuum seal then put in an icewater bath to cool it right down. Pat it thoroughly dry then do the sear The internal meat isnt overcooked this way and the desired crust is achieved.