The Benefits of Brining.
What is brining? Why does it matter? What are the pros, cons, ins and outs of it?
If you’ve ever asked any of these questions, you’ve come to the right place.
Here we’re going to discuss the benefits of brining, helping prevent you from slicing into a dry, flavorless chicken breast or pork loin. It’s an easy solution to ensure that your meats retain natural flavors, stays moist, and even improve that delicious crust on the outside.
Whether you’re getting ready to prepare a Thanksgiving turkey or even a prime rib roast, this simple process will assist in infusing flavor and retaining moisture.
Brining will also give you built-in forgiveness on the grill and in the oven, as it helps to season and tenderize the proteins. Leaner meats such as shrimp, chicken, and many cuts of pork don’t have the same inter-muscular fat as beef. Therefore, they are less forgiving, and easy to overcook. Furthermore, resulting with dry, bland tasting food.
How Brining Works
If you’re looking for a cheat code to combat dry meat on the grill, you’re in the right place.
Brining improves the ability for lean cuts of meat (such as turkey, chicken, and pork) to retain their moisture during the cooking process. This extra step can really make a difference whether you’re using a water-based brine or a dry brine.
Muscle fibers in meat are surrounded by muscle proteins. As the meat cooks, it contracts these proteins which squeeze moisture out of the muscle fibers. The longer the cook, the more moisture is extracted.
Different cuts of meat will also have various amounts of moisture – think about a fatty ribeye versus a chicken breast. It takes much less time for a chicken breast to go dry over the grill.
The goal of brining is to insert salt into the meat. Once inside, salt slows down the shrinkage of muscle proteins by dissolving some of them. Muscles end up absorbing more moisture and also squeeze out less during the cooking process.
That means your chicken breast is much juicier, and will also be more forgiving if you cook it a little longer than intended!
Salt Choices Matter
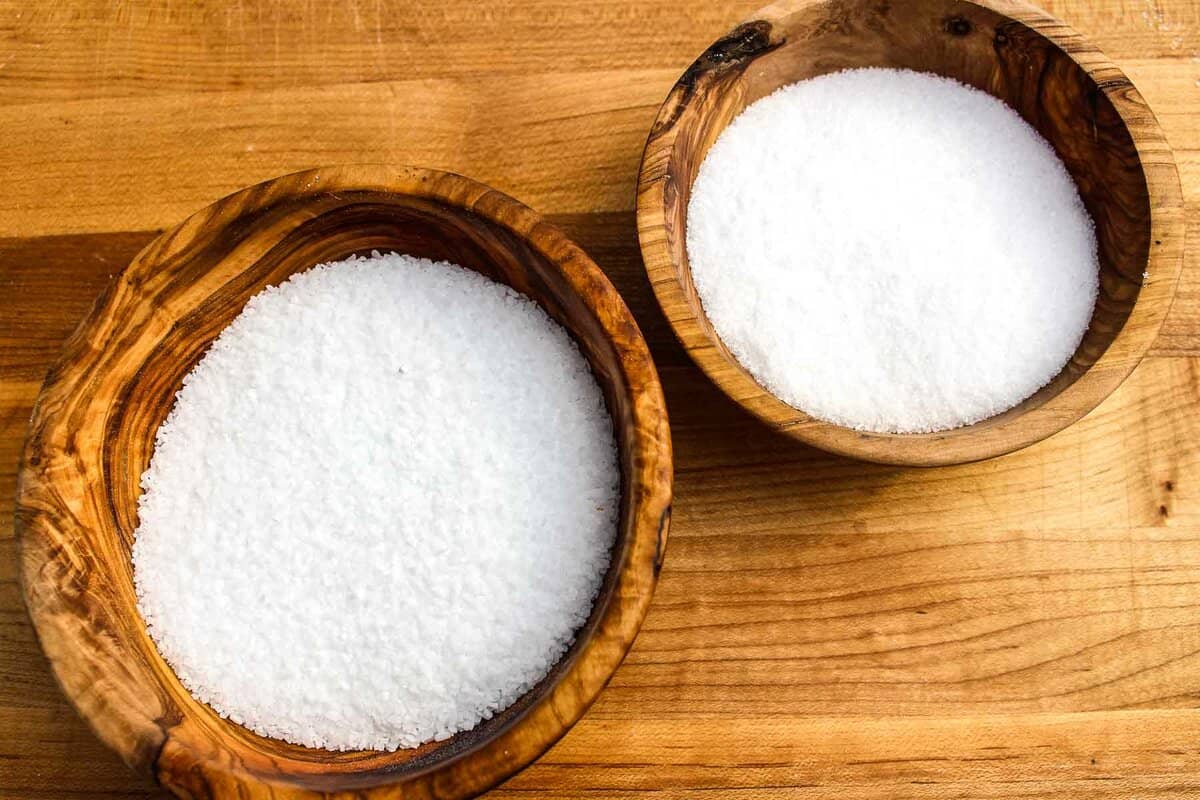
Stare at the spice rack in the grocery store and you’ll realize there are many different types of salts to choose from. Don’t get salty about it, but instead let’s keep it very simple.

Wet brines should use Kosher salt, coarse if possible. Kosher salt happens to be one of the purest, and consistent salts. Sea salt is commonly used with meats, however the weight can be very inconsistent depending on the level of moisture remaining in the crystals.
Due to the moisture, sea salt may also contain additives such as anti-caking to prevent the crystals from clumping. Larger salt crystals tend to dissolve easier than smaller crystals, hence my recommendation for using a coarse version of Kosher salt.
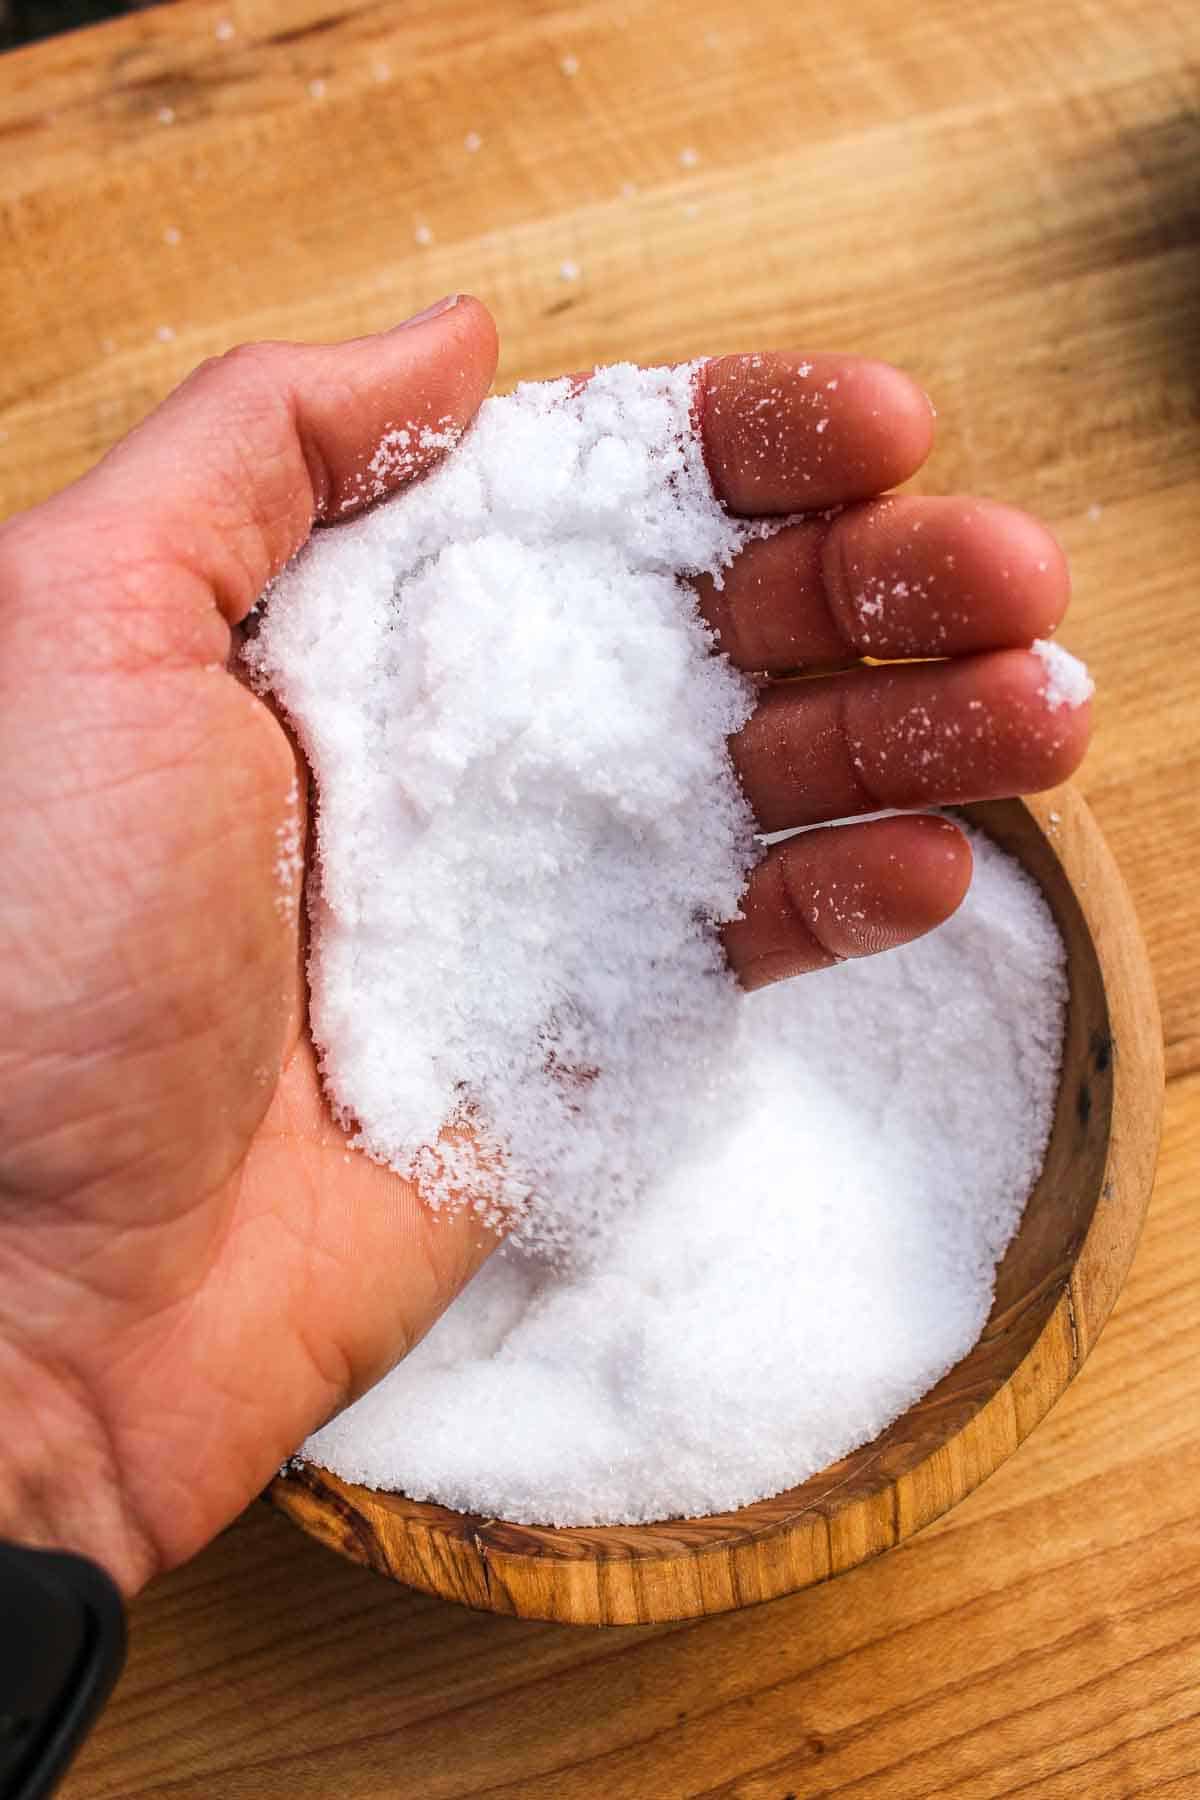
Dry brines should use a fine salt. Kosher salt or sea salt, use what you prefer for flavor. The biggest key is that smaller salt crystals will penetrate the meat more easily with a dry brine process, so avoid coarse crystals.
Most premade BBQ seasoning blends will use a finer salt, making them ideal for dry brining as well.
Benefits of Wet Brining
Most of us probably associate brining with the process of wet brining, which is basically soaking your meat in a salt water bath. A base recipe for a wet brine is water and salt only. It’s sole purpose is to help the meat to retain moisture while also seasoning and tenderizing it.
This process really became popular in the late 90s when folks were just fed up with dry Thanksgiving turkeys. Alton Brown put out an episode of Good Eats with his recipe, and from there it really took off. If you’ve got 5 minutes, it’s a good watch!
It’s important to clarify that a wet brine is NOT the same as a marinade. Marinades do have salt, and meat does soak, but the purpose is to quickly tenderize the meat while infusing the surface with a myriad of flavors.
When to Use Wet Brining
So, which meats should you treat to a salt bath? Well, Turkey is the classic and obvious answer, but there are certainly more cuts of meat that benefit from the wet brining process.
Just about any cut of poultry works really well – from whole chickens, cornish hens, chicken wings, and even game birds. Most birds have a lower ratio of fat in the muscles leaving them prone to dryness on the grill or in the oven.
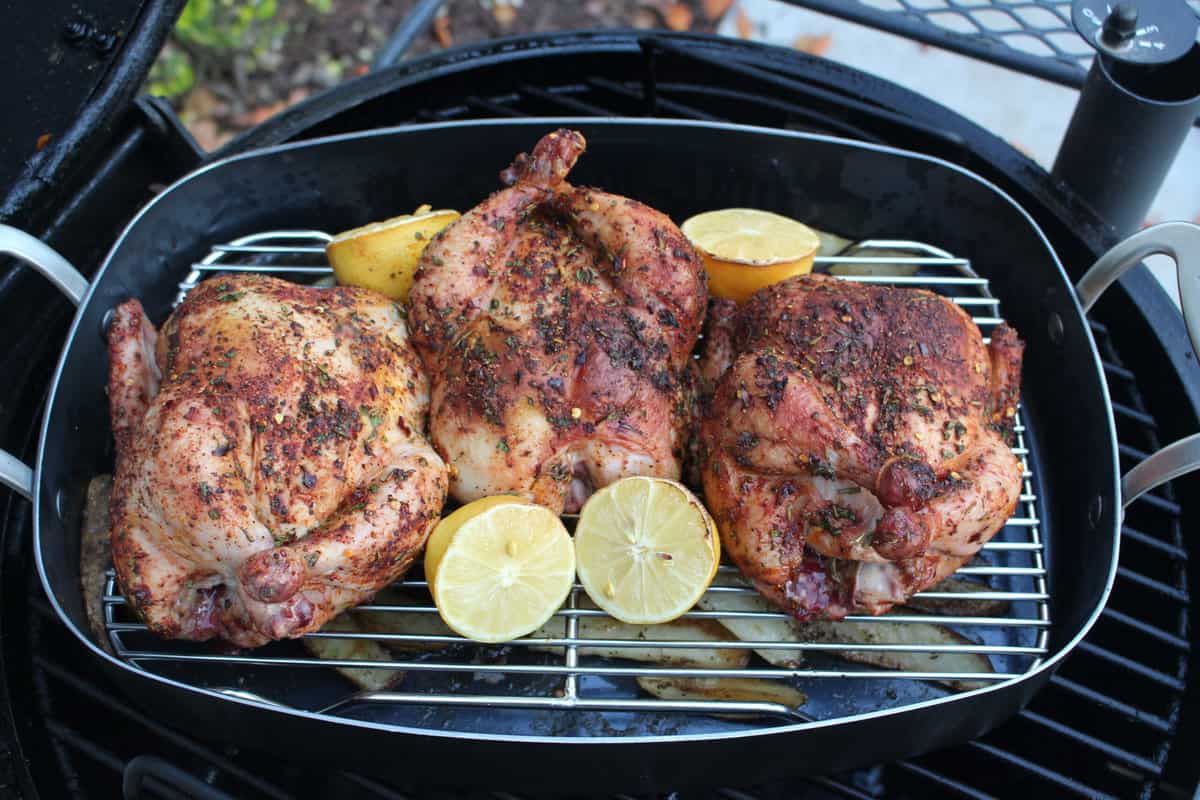
Pork is another cut that works well with wet brining recipes. Many of the cuts are leaner, but even a rack of babyback ribs can benefit from a salt bath.
Thicker cuts such as pork loin or a roast will have the greatest benefits due to their sheer size. Unless you inject, it’s very difficult to season the inside of the meat without using a wet brine.
How to Wet Brine Meat
Make sure there’s enough fridge space for a large container that can hold a significant amount of water and the cut of meat you’re choosing. Drink up some of that beer and make room!
Most wet brines range between 5-8% salt to water by weight. Sticking to a 6% ratio is a safe bet, giving enough flavor without adding too much sodium to overpower the meat. There are some great brine calculators out there to tell you exactly how much salt to use depending on the water levels.
- Measure out the water. The amount you’ll need will depend on the cut of meat that you have. Use enough water so that the meat is fully submerged. Plan on at least 2 gallons of water for larger cuts, even 3 or 4 if it’s a large turkey.
- Measure out the salt. Kosher salt is the most common for creating a wet brine. Using 1 level cup of Kosher salt per gallon is going to provide a brine that is close to 6%.
- Warm up the water and the salt. Dissolving the salt is critical, allowing it to be evenly dispersed in the brine. The water doesn’t need to be at a high boil, just hot enough to make sure the salts dissolve.
- Cool the brine. Allow the brine to completely cool before placing the meat inside, otherwise you’ll risk partially cooking the meat.
- Brine the meat in the fridge. Timing will vary depending on the size of your cut, but use a guide of 1 hour per 1 pound of meat, and you really can’t go wrong. It won’t hurt if you go a full 24 hours for a larger cut such as a 16-pound turkey.
Additions to the Salt Solution
Perhaps you’ve seen grandma add in a handful of bayleaves, a cup of sugar, and a fistful of peppercorns. These additions can certainly add some flavor, but they won’t necessary seep into the muscles in the same way as the salt.
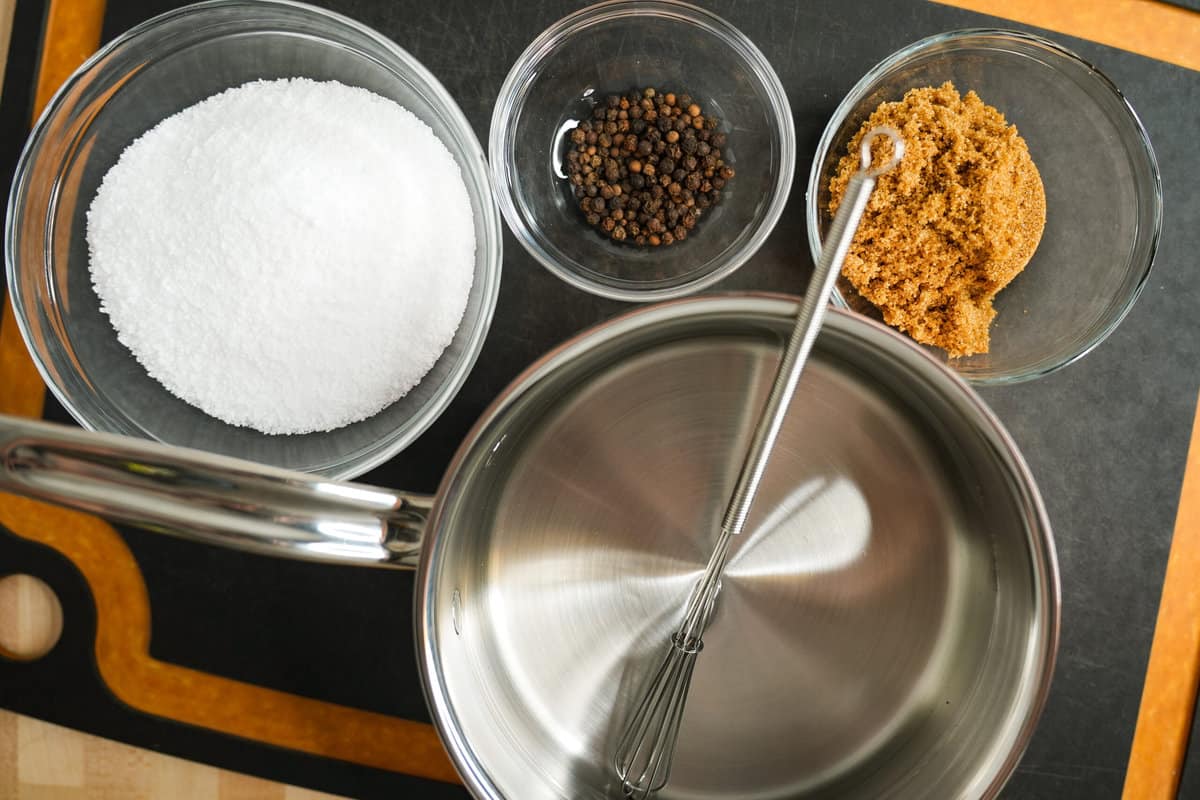
These molecules are much larger than dissolved salt, preventing them from seasoning deep inside the meat. They do flavor the outside of the food however, and the sugar actually helps promote browning on the outside. Browning equals more flavor, so that’s a great thing!
Use ¼ cup of sugar per 1 cup of salt, as a general rule. Some recipes might ask for more, and that’s fine. You’ll want to dissolve the sugar along with the salt when heating up the brine. Keep it simple!
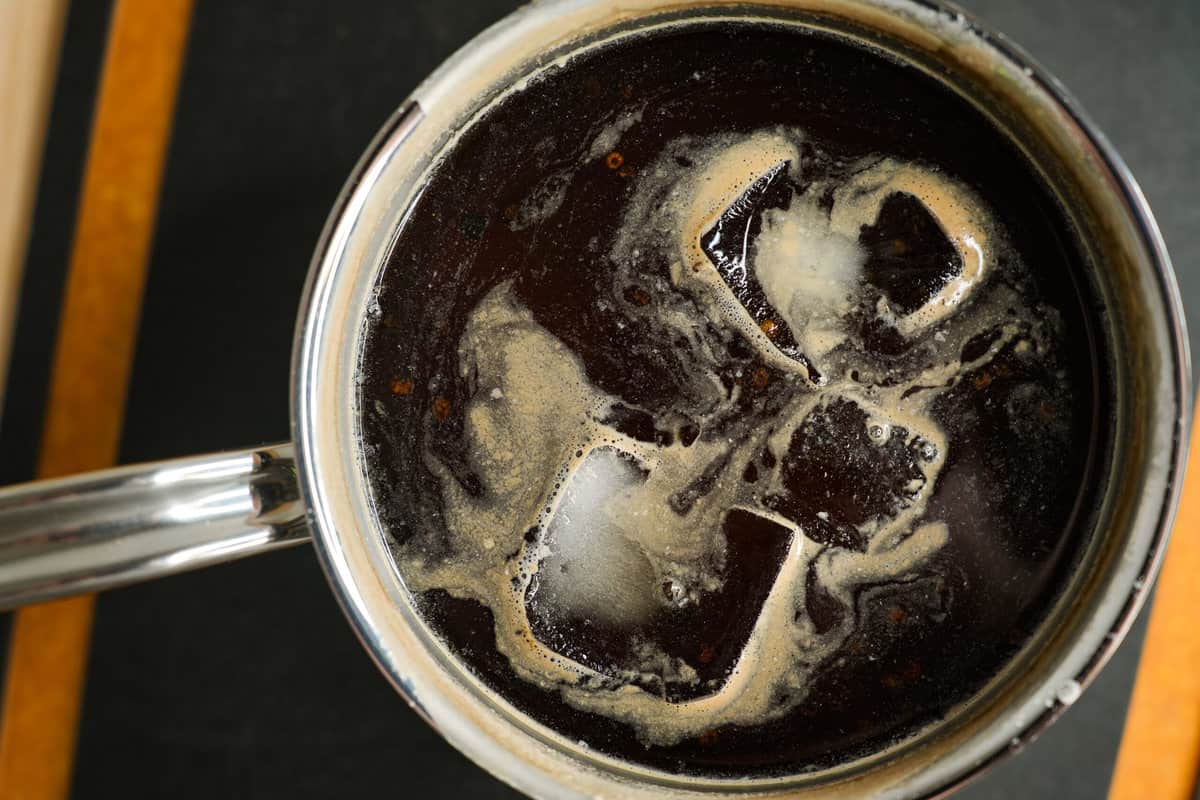
Aromatics such as spices and leaves will season the outside of the meat, but you’ll need to use a pretty substantial amount to make a real difference for larger cuts. Don’t be afraid to add ½ cup (or more) of dry spices to the warm brine.
Pros and Cons of Wet Brining
Wet brining can certainly benefit larger cuts of meat, but there are also some downsides. Understanding the differences will help you determine if this is the best process for your recipe.
Pros:
- Adds significant moisture to the meat, therefore there’s more forgiveness on the grill.
- Tenderizes the meat, very helpful for tougher cuts such as pork chops.
- Evenly seasons the meat throughout, especially important for larger cuts.
Cons:
- Waters down the natural meat flavors slightly, the juice from the meat is also the salt solution.
- Outside texture may not be as crispy. Adding sugar in the brine can help.
- Requires significant fridge space for prepping.
Benefits of Dry Brining
Let’s talk about the process of dry brining, which is really a fancy term that simply describes “pre-salting” the meat ahead of time. The meat is allowed to rest in a fridge, uncovered, for a period of time to allow the salt to naturally dissolve and get sucked inside, seasoning the inside.
Strong opinions have formed over the recent years about dry brining versus wet brining, to the point many chefs have abandoned the wet brine. There are clear advantages for each process, and also preferred choices of meats to use for each.
Dry brining is certainly the simpler process of the two.
Smaller individual cuts such as steaks, chicken breast, or even fish tend to benefit the most from dry brining. It can also be used with larger cuts like roasts, pork belly, or even whole birds.
Let’s Get Nerdy with Dry Brine
Do you remember your highschool science class about osmosis and diffusion? Well, those two processes come to life when you season your thick ribeye steak and allow it to dry brine.
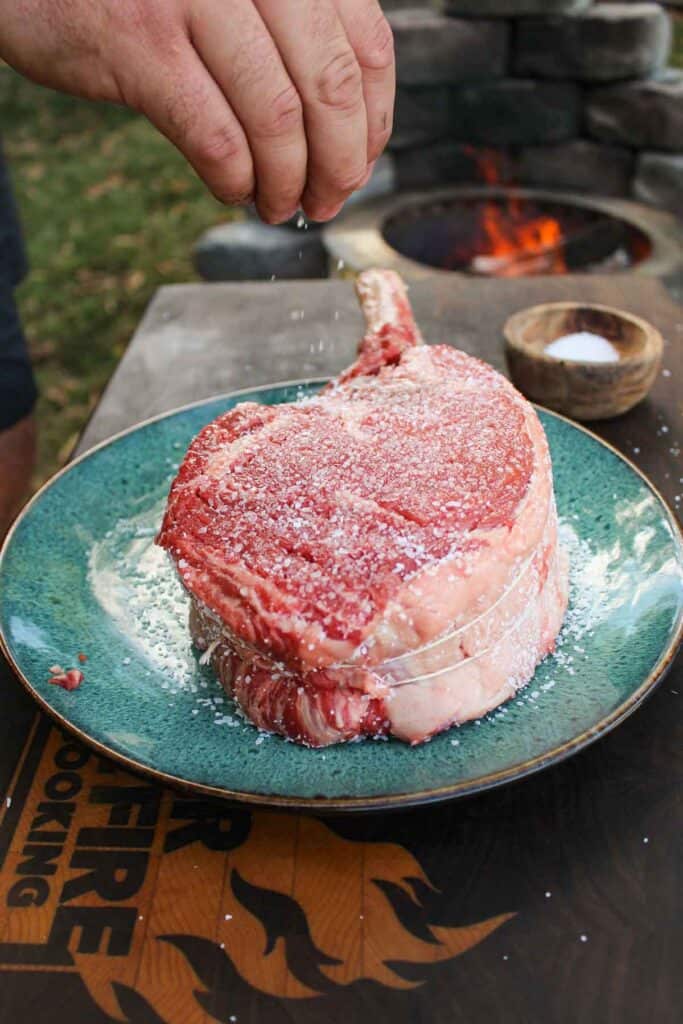
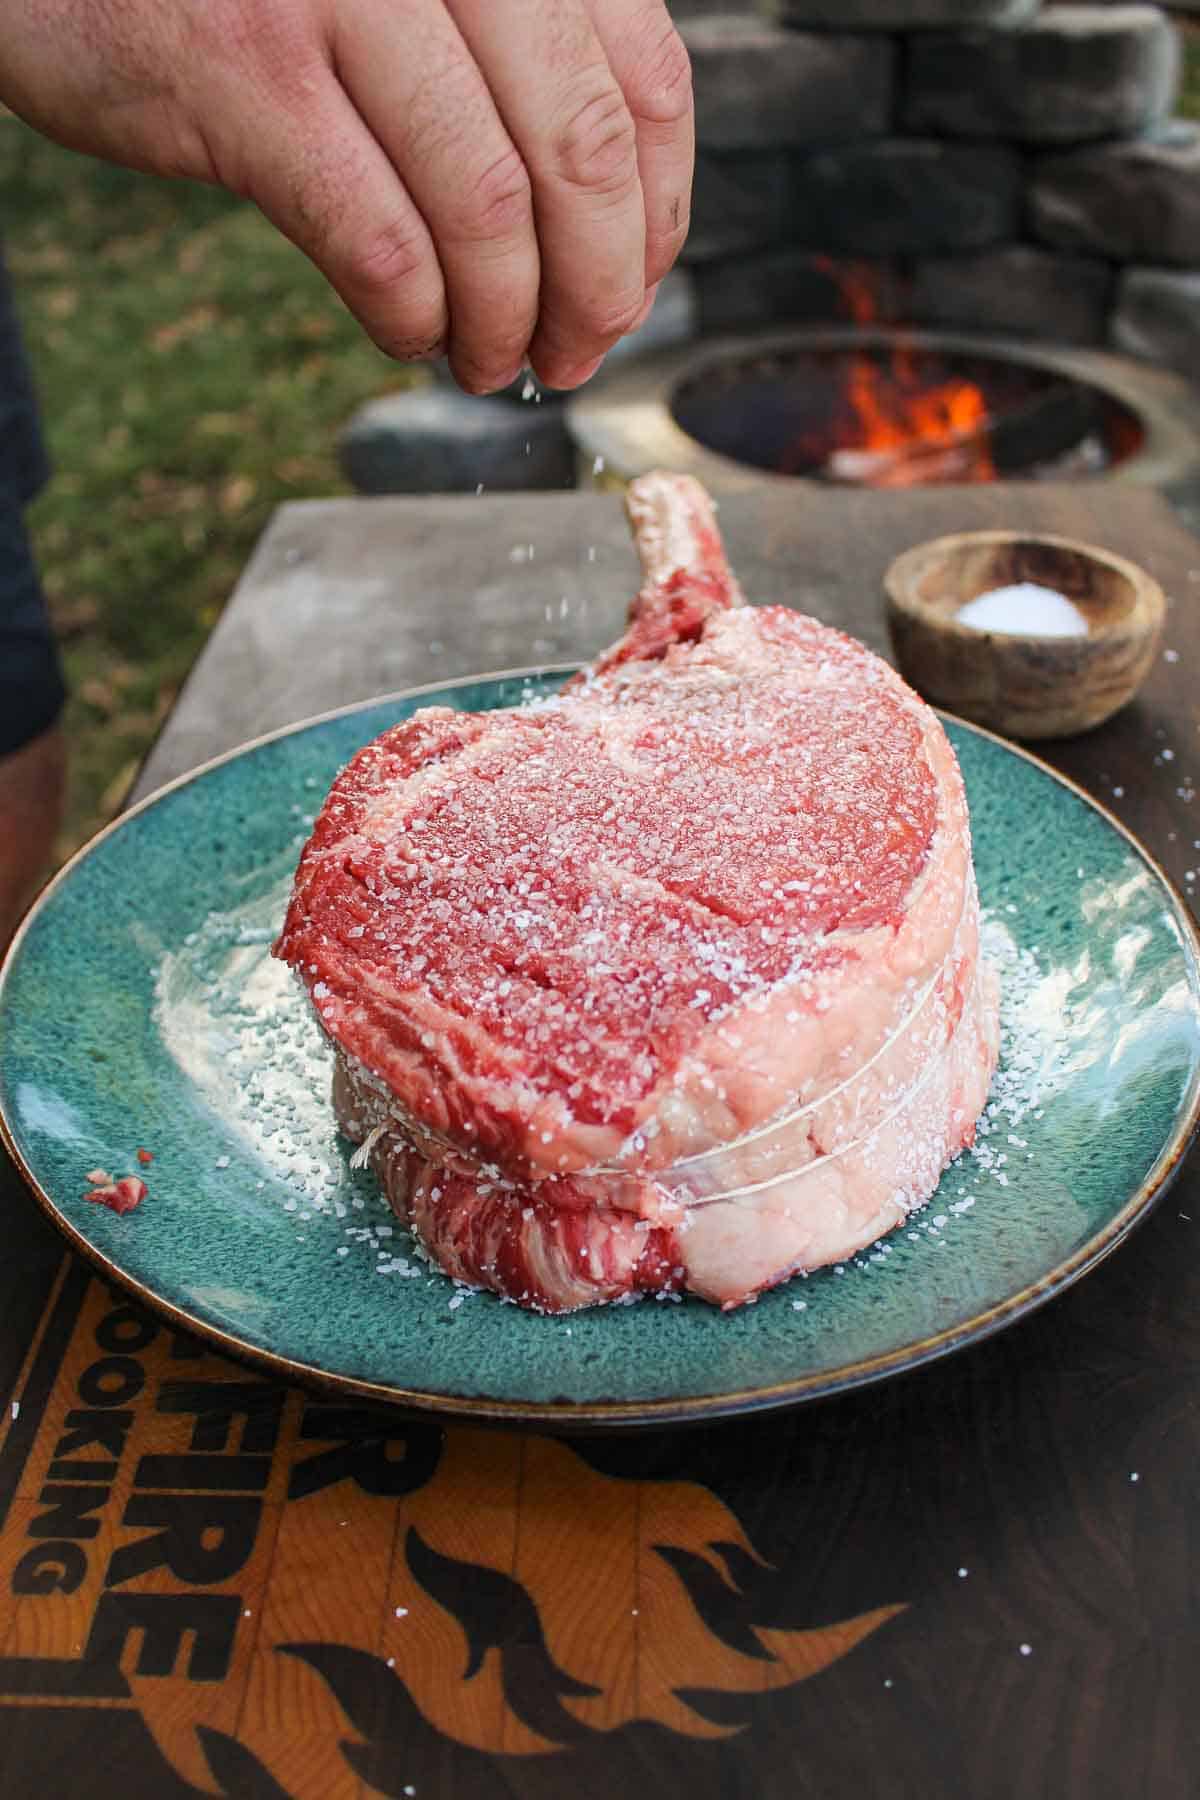
Season a steak with salt and you’ll notice that liquid starts to form on the surface after a few minutes. The salt is drawing out moisture, the process of osmosis. As the liquid pools onto the surface it also causes the salts to dissolve, creating a natural brine.
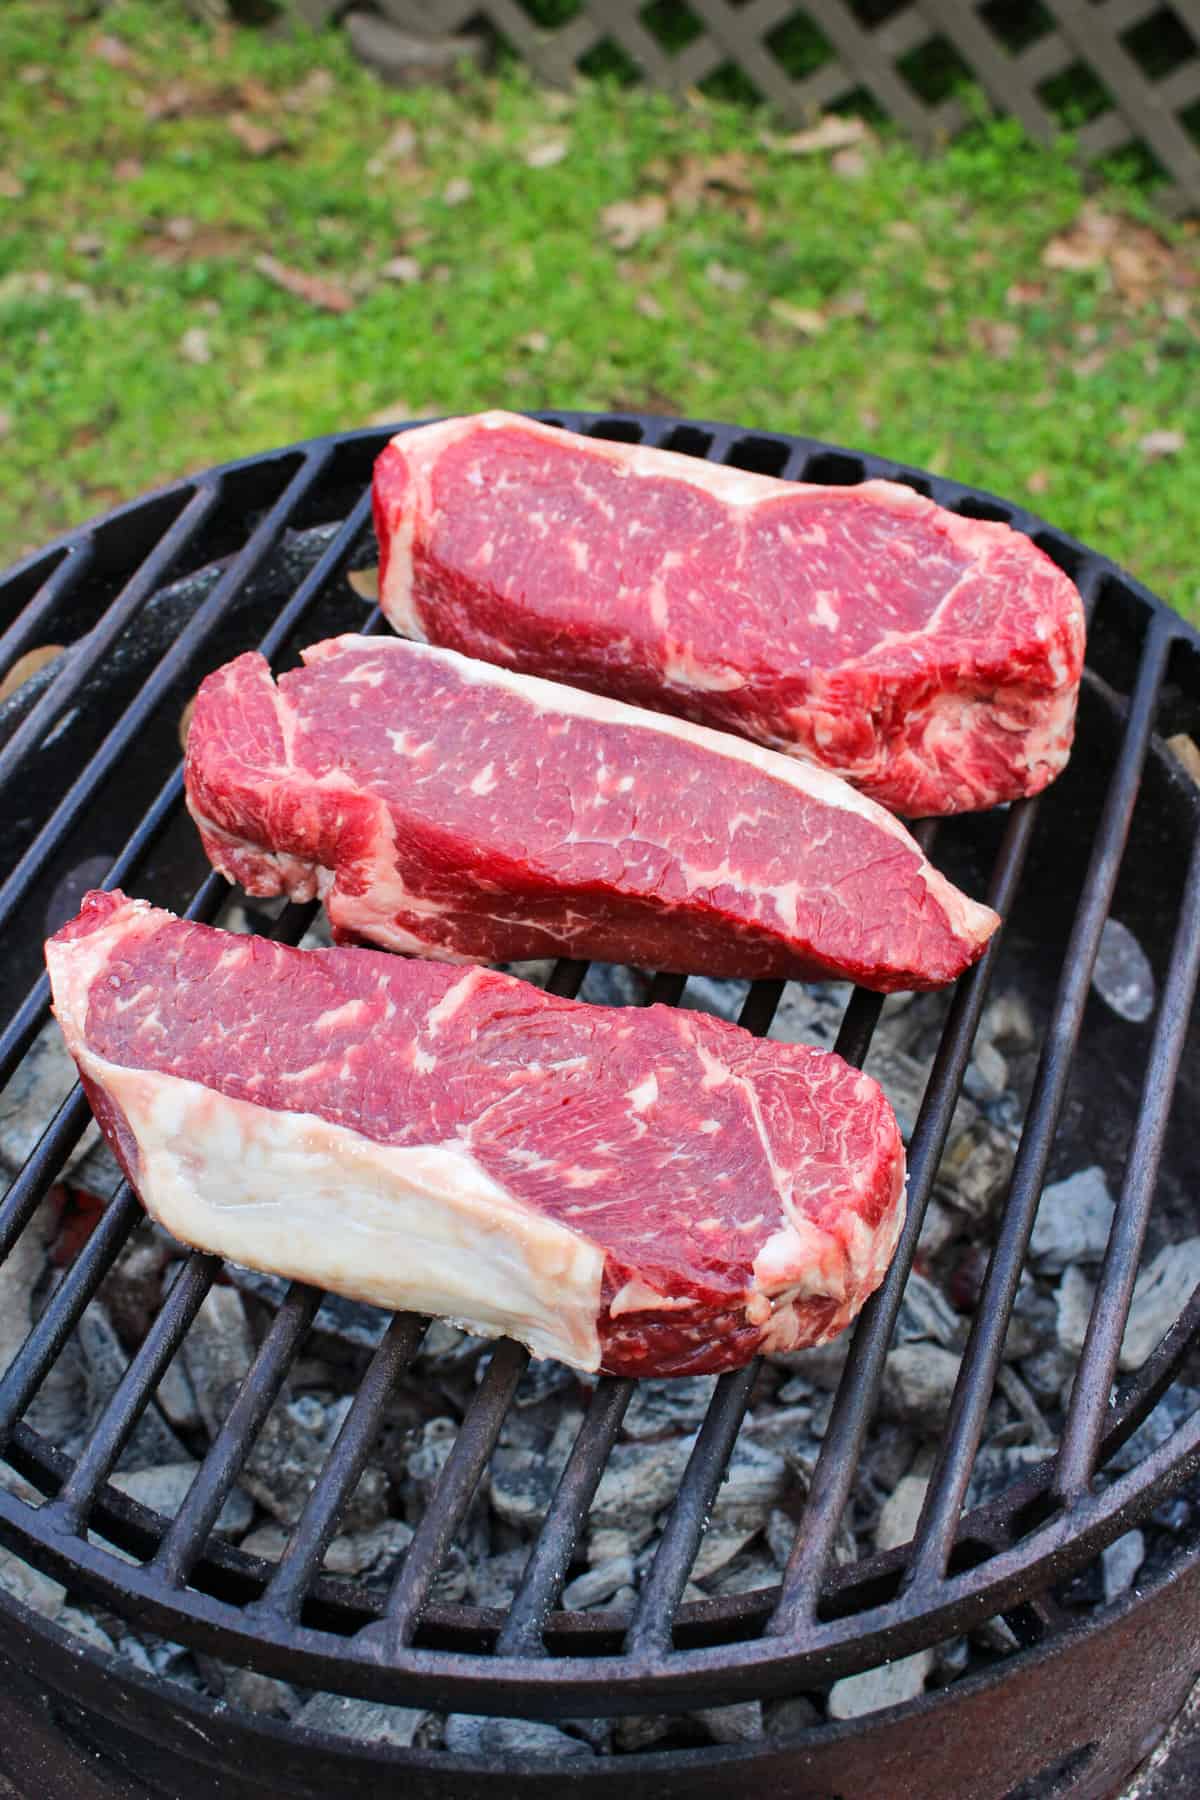
Over time, the dissolved salt brine on the surface will be absorbed back into the meat, through the process of diffusion. Just like the process of wet brining, the salts will tenderize the proteins surrounding the muscle structures and slow down their constriction while cooking. Think of the steak as a wet sponge, full of juicy flavor. You don’t want the muscles to squeeze all of it out!
Additional Benefits of Dry Brining
Dry brining provides a few additional benefits that might seem obvious once they are pointed out:
- Dry exterior, providing the means for an epic crust when searing
- Pure, natural flavor of meat
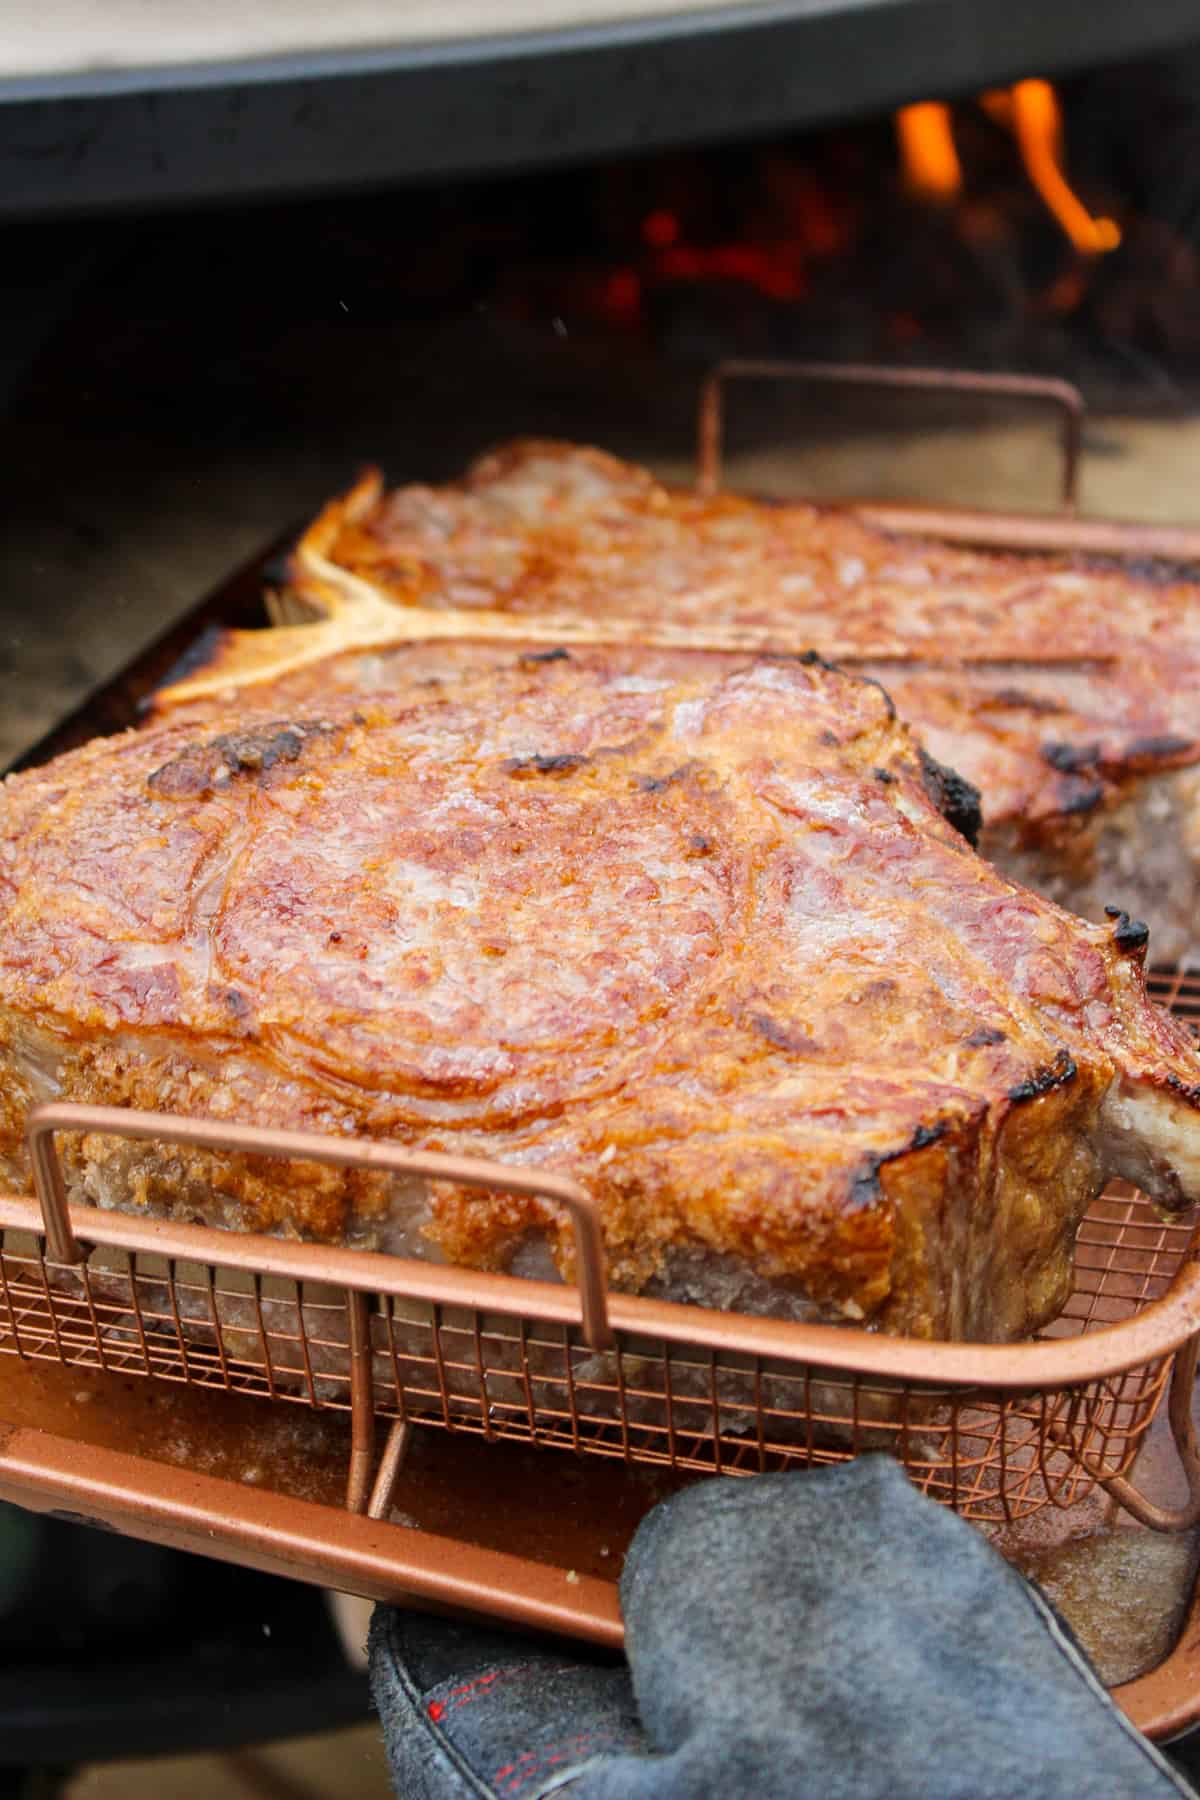
The absence of a liquid brine means that water is not entering the muscles, so your beef stays very beefy! A clear downside of wet brining is the dilution of natural meat flavor, which is avoided if you choose to dry brine.
Keeping the meat in the fridge, uncovered, is extremely key for dry brining. Airflow helps to dry out the surface, which is ideal for the most crispiest crusts when meat is seared in a skillet or over the coals. It doesn’t matter if you’re dry brining chicken breasts, pork chops, or NY strips – they will all benefit from having a dry surface when searing.
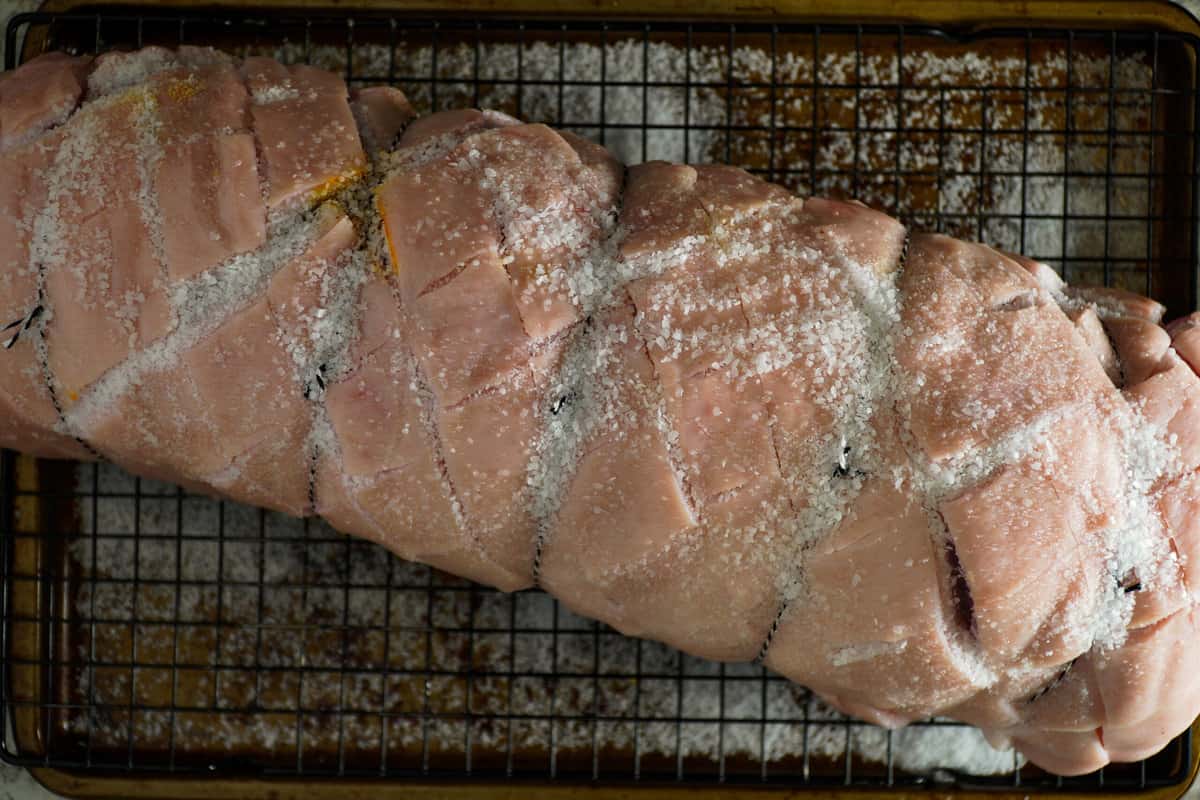
Use a baking sheet with a wire rack when placing the seasoned meat in the fridge, elevating it off the flat surface. This will allow airflow to hit all sides.
How to Dry Brine Meat
As described above, Kosher salt or sea salt can be used for dry brining. Make sure your salt is not coarse, as it will not penetrate into the meat as well.
Season the meat from up high, allowing the salt to fall evenly on the surface. There isn’t a specific measurement when using salt to dry brine, as each cut of meat could potentially require different amounts of seasoning. Sprinkly enough salt so the entire exterior is lightly coated. Bigger cuts such as pork loin or beef plate ribs will require more salt.
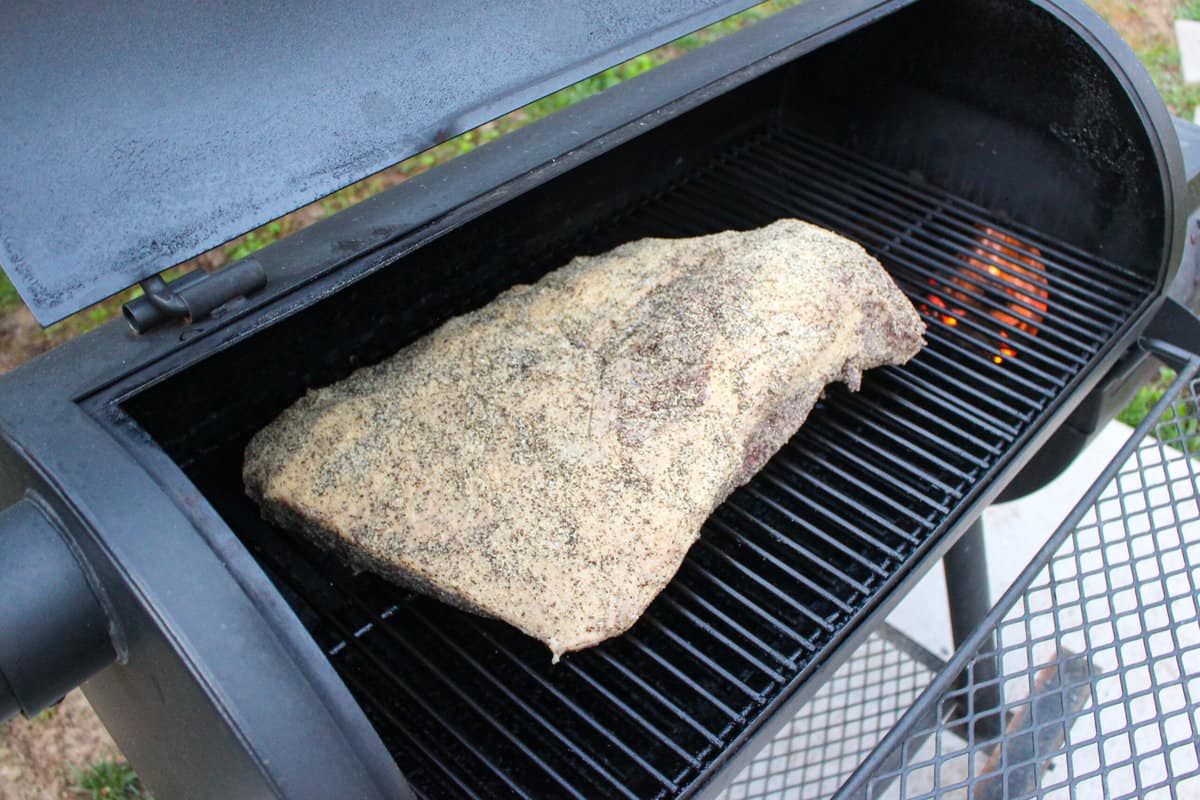
Place the meat on a wire rack set inside a rimmed baking sheets. Set the tray inside the fridge uncovered for a period of time. Smaller cuts like chicken breats, fish, or steaks will likely be ready after just about 45 minutes. Larger cuts such as whole chicken, prime rib, or turkeys should be allowed to rest overnight in the fridge. Bigger cuts have more muscles, and simply require more time for the salt to penetrate deeper.
Note: Don’t rinse off the seasoning before you cook! That will not only get rid of the seasoning left on the outside, but will also reverse the dry exterior which is ideal for a brown crust.
Can I Use Seasoning Blends to Dry Brine?
Yes! That keeps it very simple too because you’ve brined and seasoned all in the same step.
We love our seasonings around here, so be sure to check out Over the Fire Cooking’s official spice line with Spiceology! Some of our favorites include the Beer-Infused 6 Pack blends and the Spirit-Infused Signature Collection.
Advantages of Dry Brining
- Seasons smaller cuts of meat quickly, without the need for large containers
- Creates a dry surface, ideal for a crispy skin and crust
- More natural meat flavors, seasoning with its own juices
Disadvantages of Dry Brining
- Salt does not penetrate as deeply as wet brining
- Uneven internal seasoning with thicker cuts
- Easier to over-salt the meat due to the technique
Building the Flavor
Brining meat is an incredible helpful tool regardless of what you’re cooking. There are pros and cons for each method, but both take patience and practice. Hopefully this guide helps you decide which method is best for your recipe. No matter which method you choose, make sure you take the time to brine your meat!
For more delicious recipes, check out my second cookbook Flavor X Fire or my first cookbook Food X Fire!
Needing more spice in your life? My spice line can help with that. Check them out here.
